
Sync Okta Users and Groups with SCIM Provisioning
For the complete documentation index, see llms.txt. For a full content snapshot, see llms-full.txt. Append.mdto anykestra.io/docs/*URL for plain Markdown.
Sync users and groups from Okta to Kestra using SCIM.
Prerequisites
- Okta Account: An account with administrative privileges is required to configure SCIM provisioning.
- Enable multi-tenancy in Kestra: Tenants must be enabled in Kestra to support SCIM provisioning. You can enable tenants by setting the
kestra.ee.tenants.enabledconfiguration property totrue:
kestra: ee: tenants: enabled: trueTenants are enabled by default. Please refer to the Migration Guide to assist with upgrading.
Kestra SCIM setup: create a new provisioning integration
- Go to Instance Owner, select your tenant from the sidebar, open IAM, and click the SCIM Provisioning tab.
- Click + Create.
- Fill in the following fields:
- Name: Enter a name for the provisioning integration.
- Description: Provide a brief description of the integration.
- Provisioning Type: Only SCIM 2.0 is supported — leave the default selection and click Save.
These steps generate a SCIM endpoint URL and a Secret Token. Save both — you will need them in the next steps.
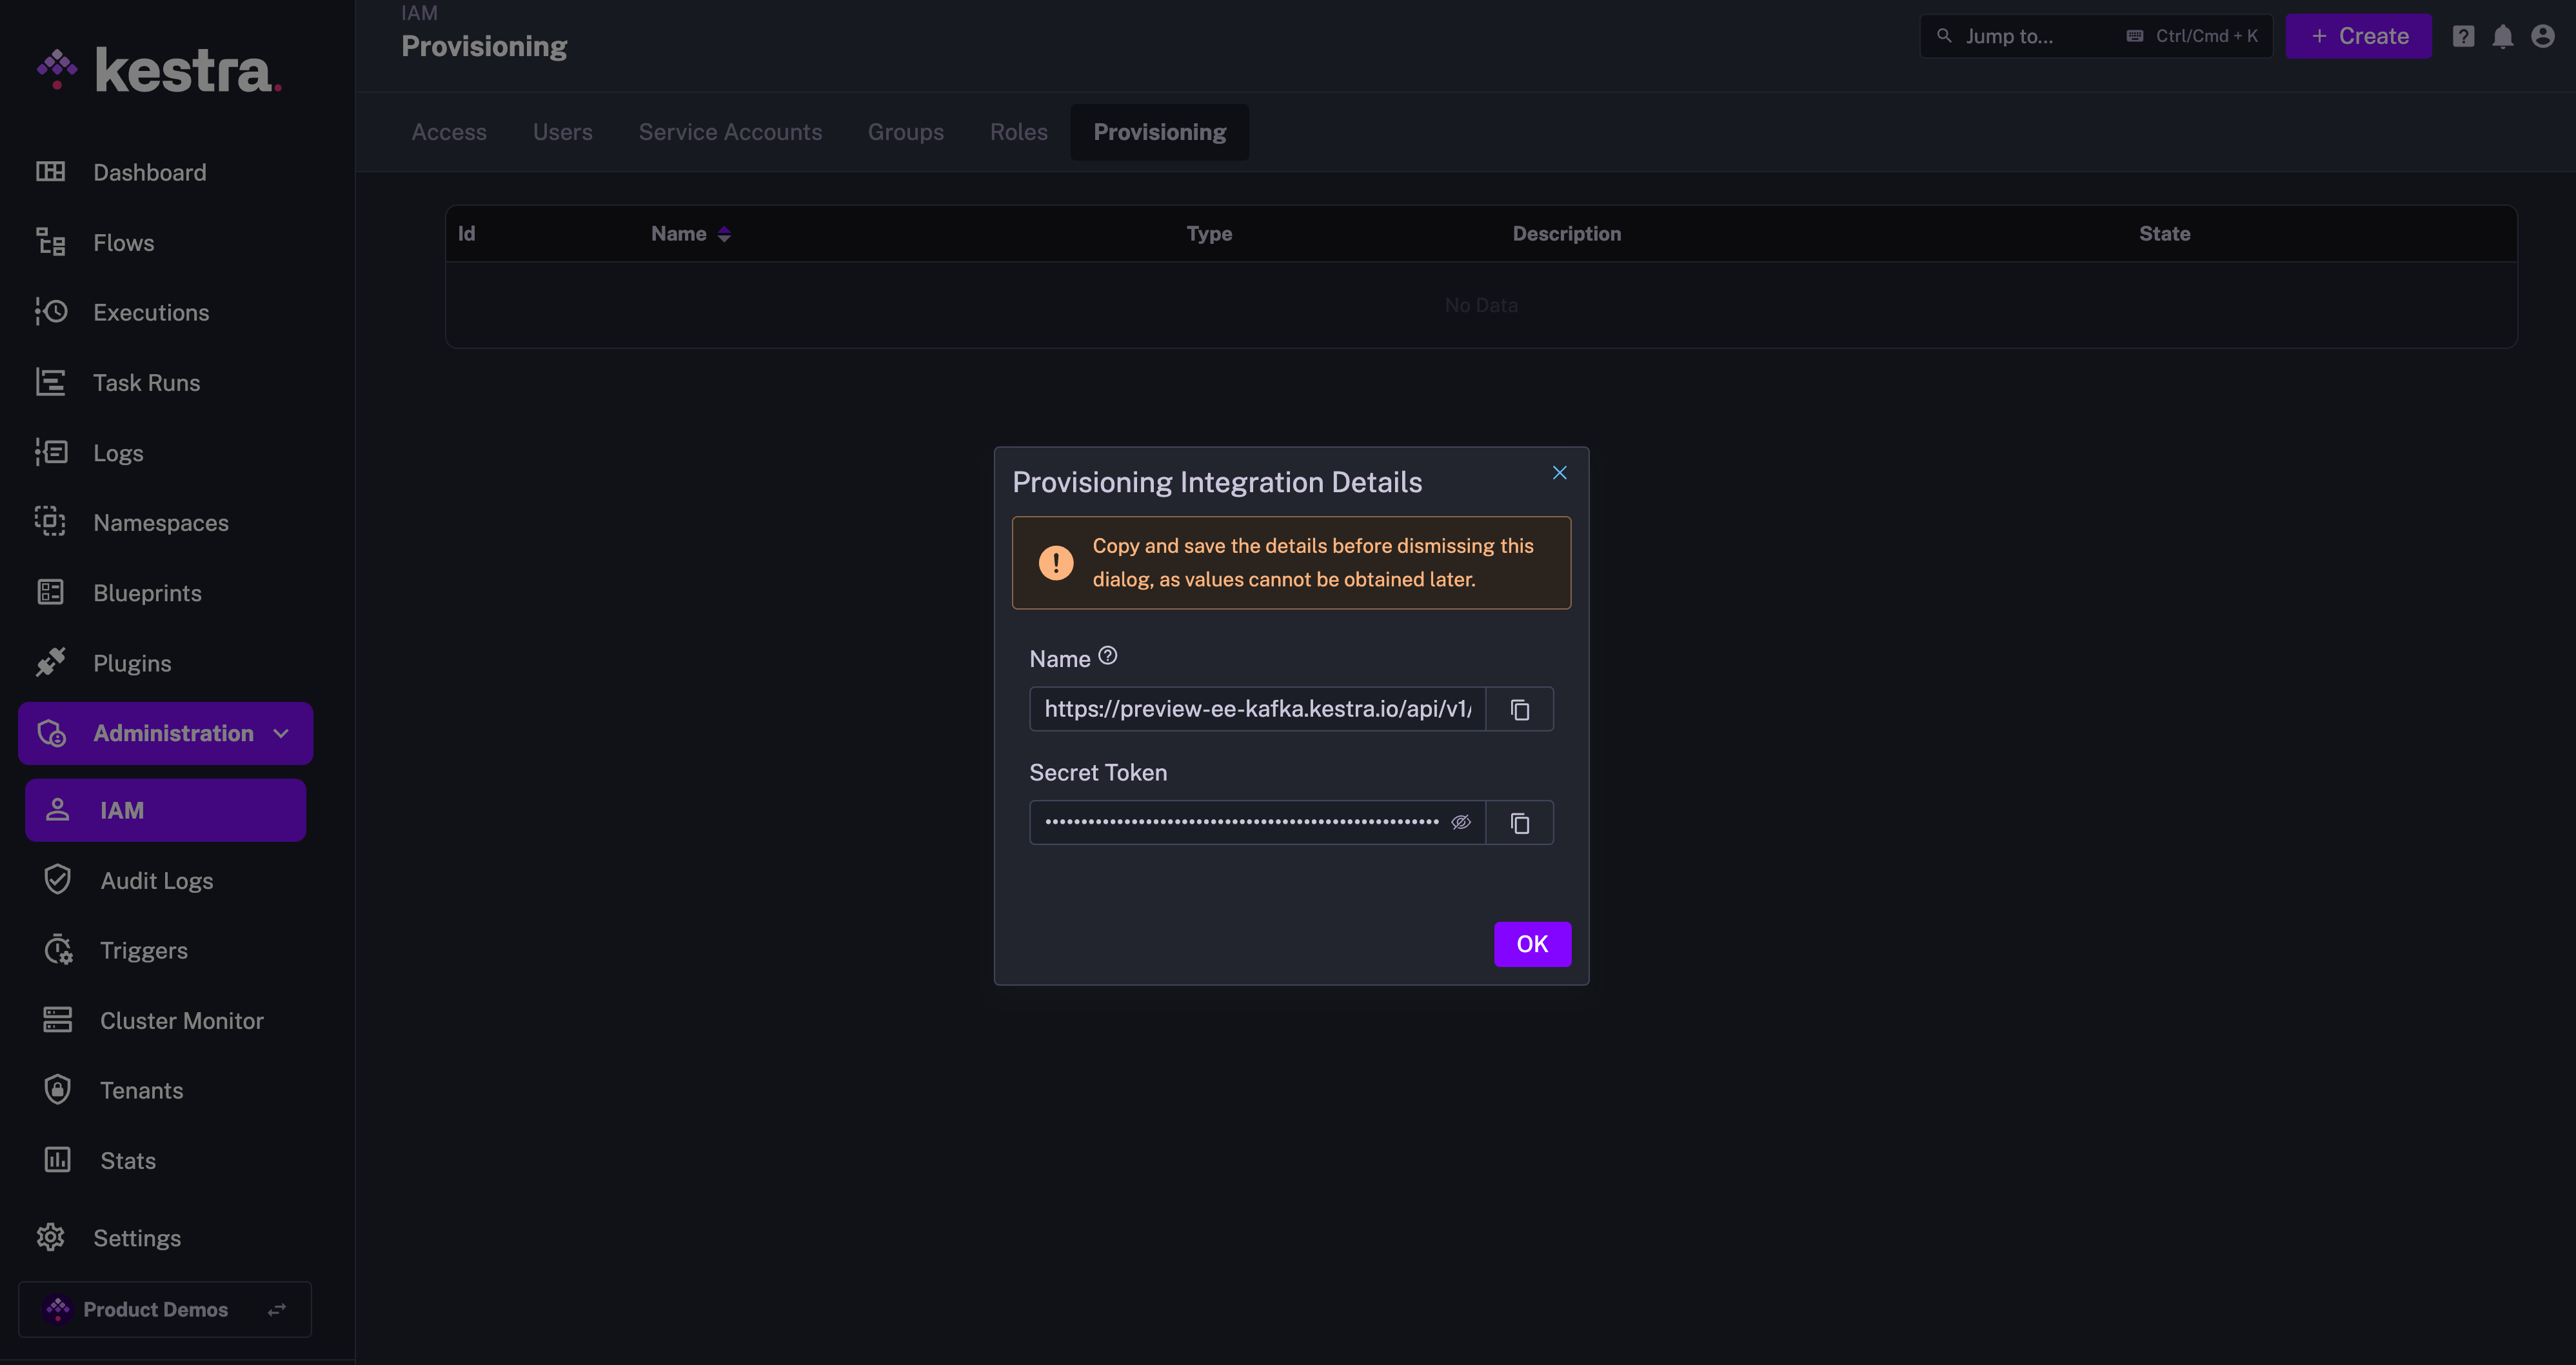
The endpoint should look as follows:
https://<your_kestra_host>/api/v1/<your_tenant>/integrations/integration_id/scim/v2The Secret Token is a long string (approx. 200 characters) used to authenticate requests from Okta to Kestra.
Enable or disable SCIM integration
You can disable or remove the SCIM integration at any time. When disabled, all incoming requests to that endpoint are rejected.
You can disable the integration while configuring Okta, then enable it once setup is complete.
IAM role and service account
When creating a new Provisioning Integration, Kestra will automatically create two additional objects:
-
Role
SCIMProvisionerwith the following permissions:GROUPS:CREATE,READUPDATE,DELETEUSERS:CREATE,READ,UPDATEBINDINGS:CREATE,READ,UPDATE,DELETE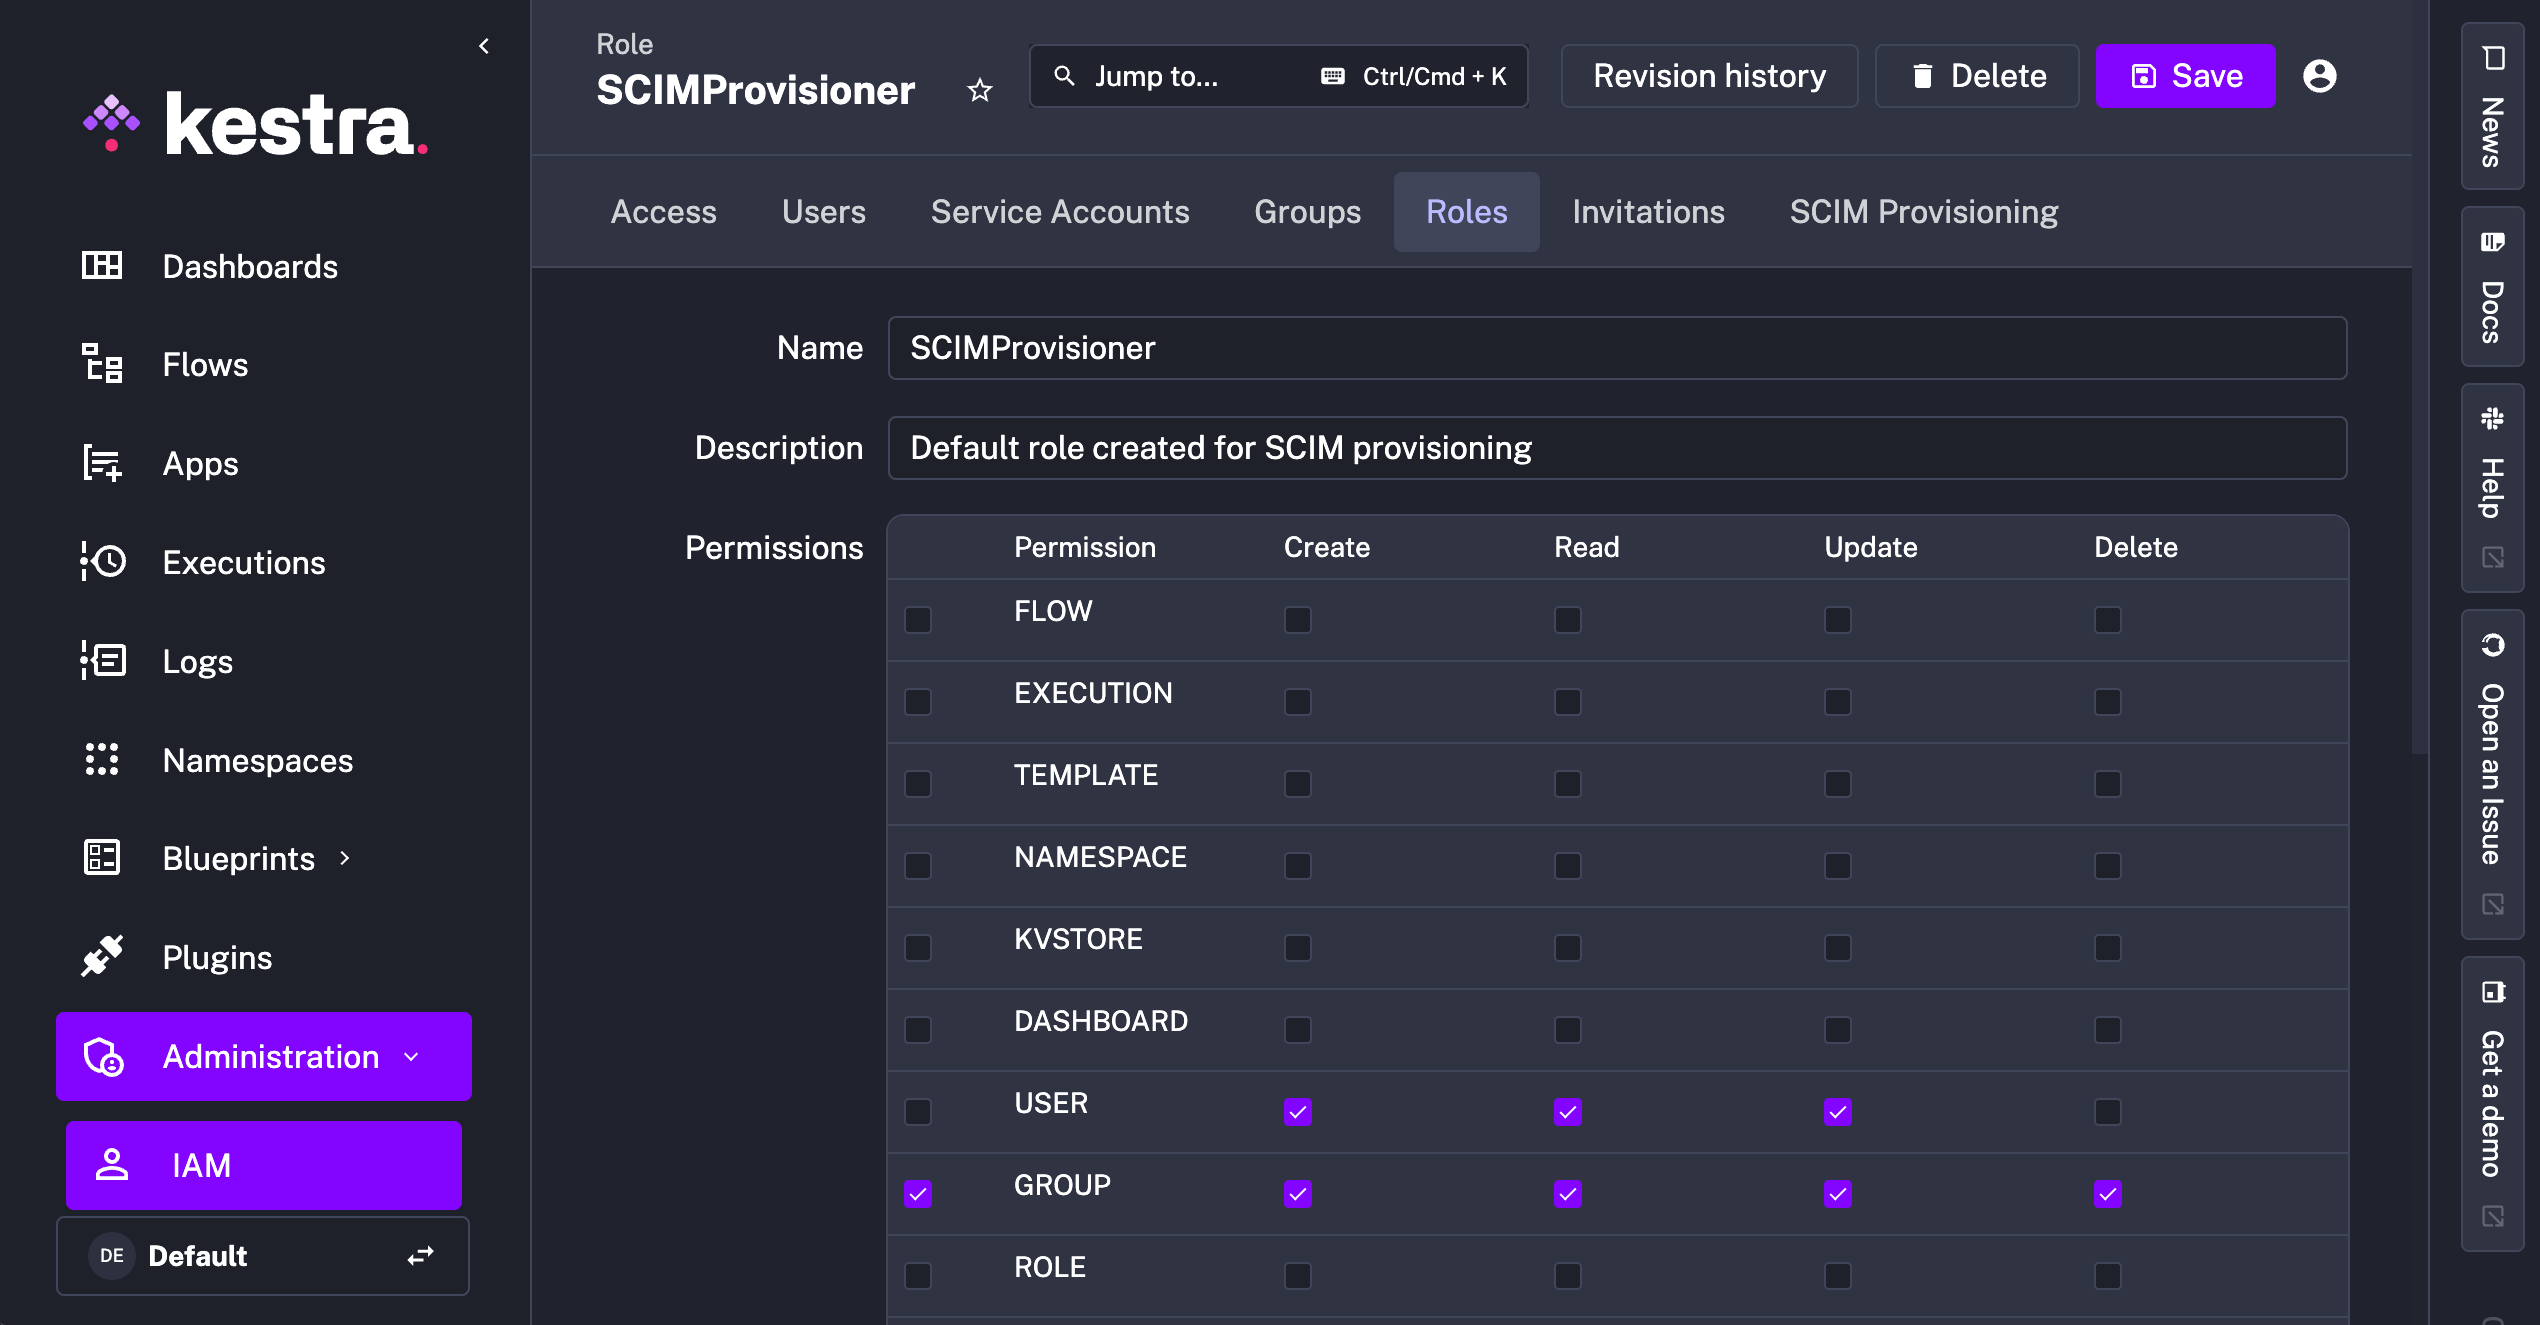
-
Service Account with an API Token which was previously displayed as the Secret Token for the integration:
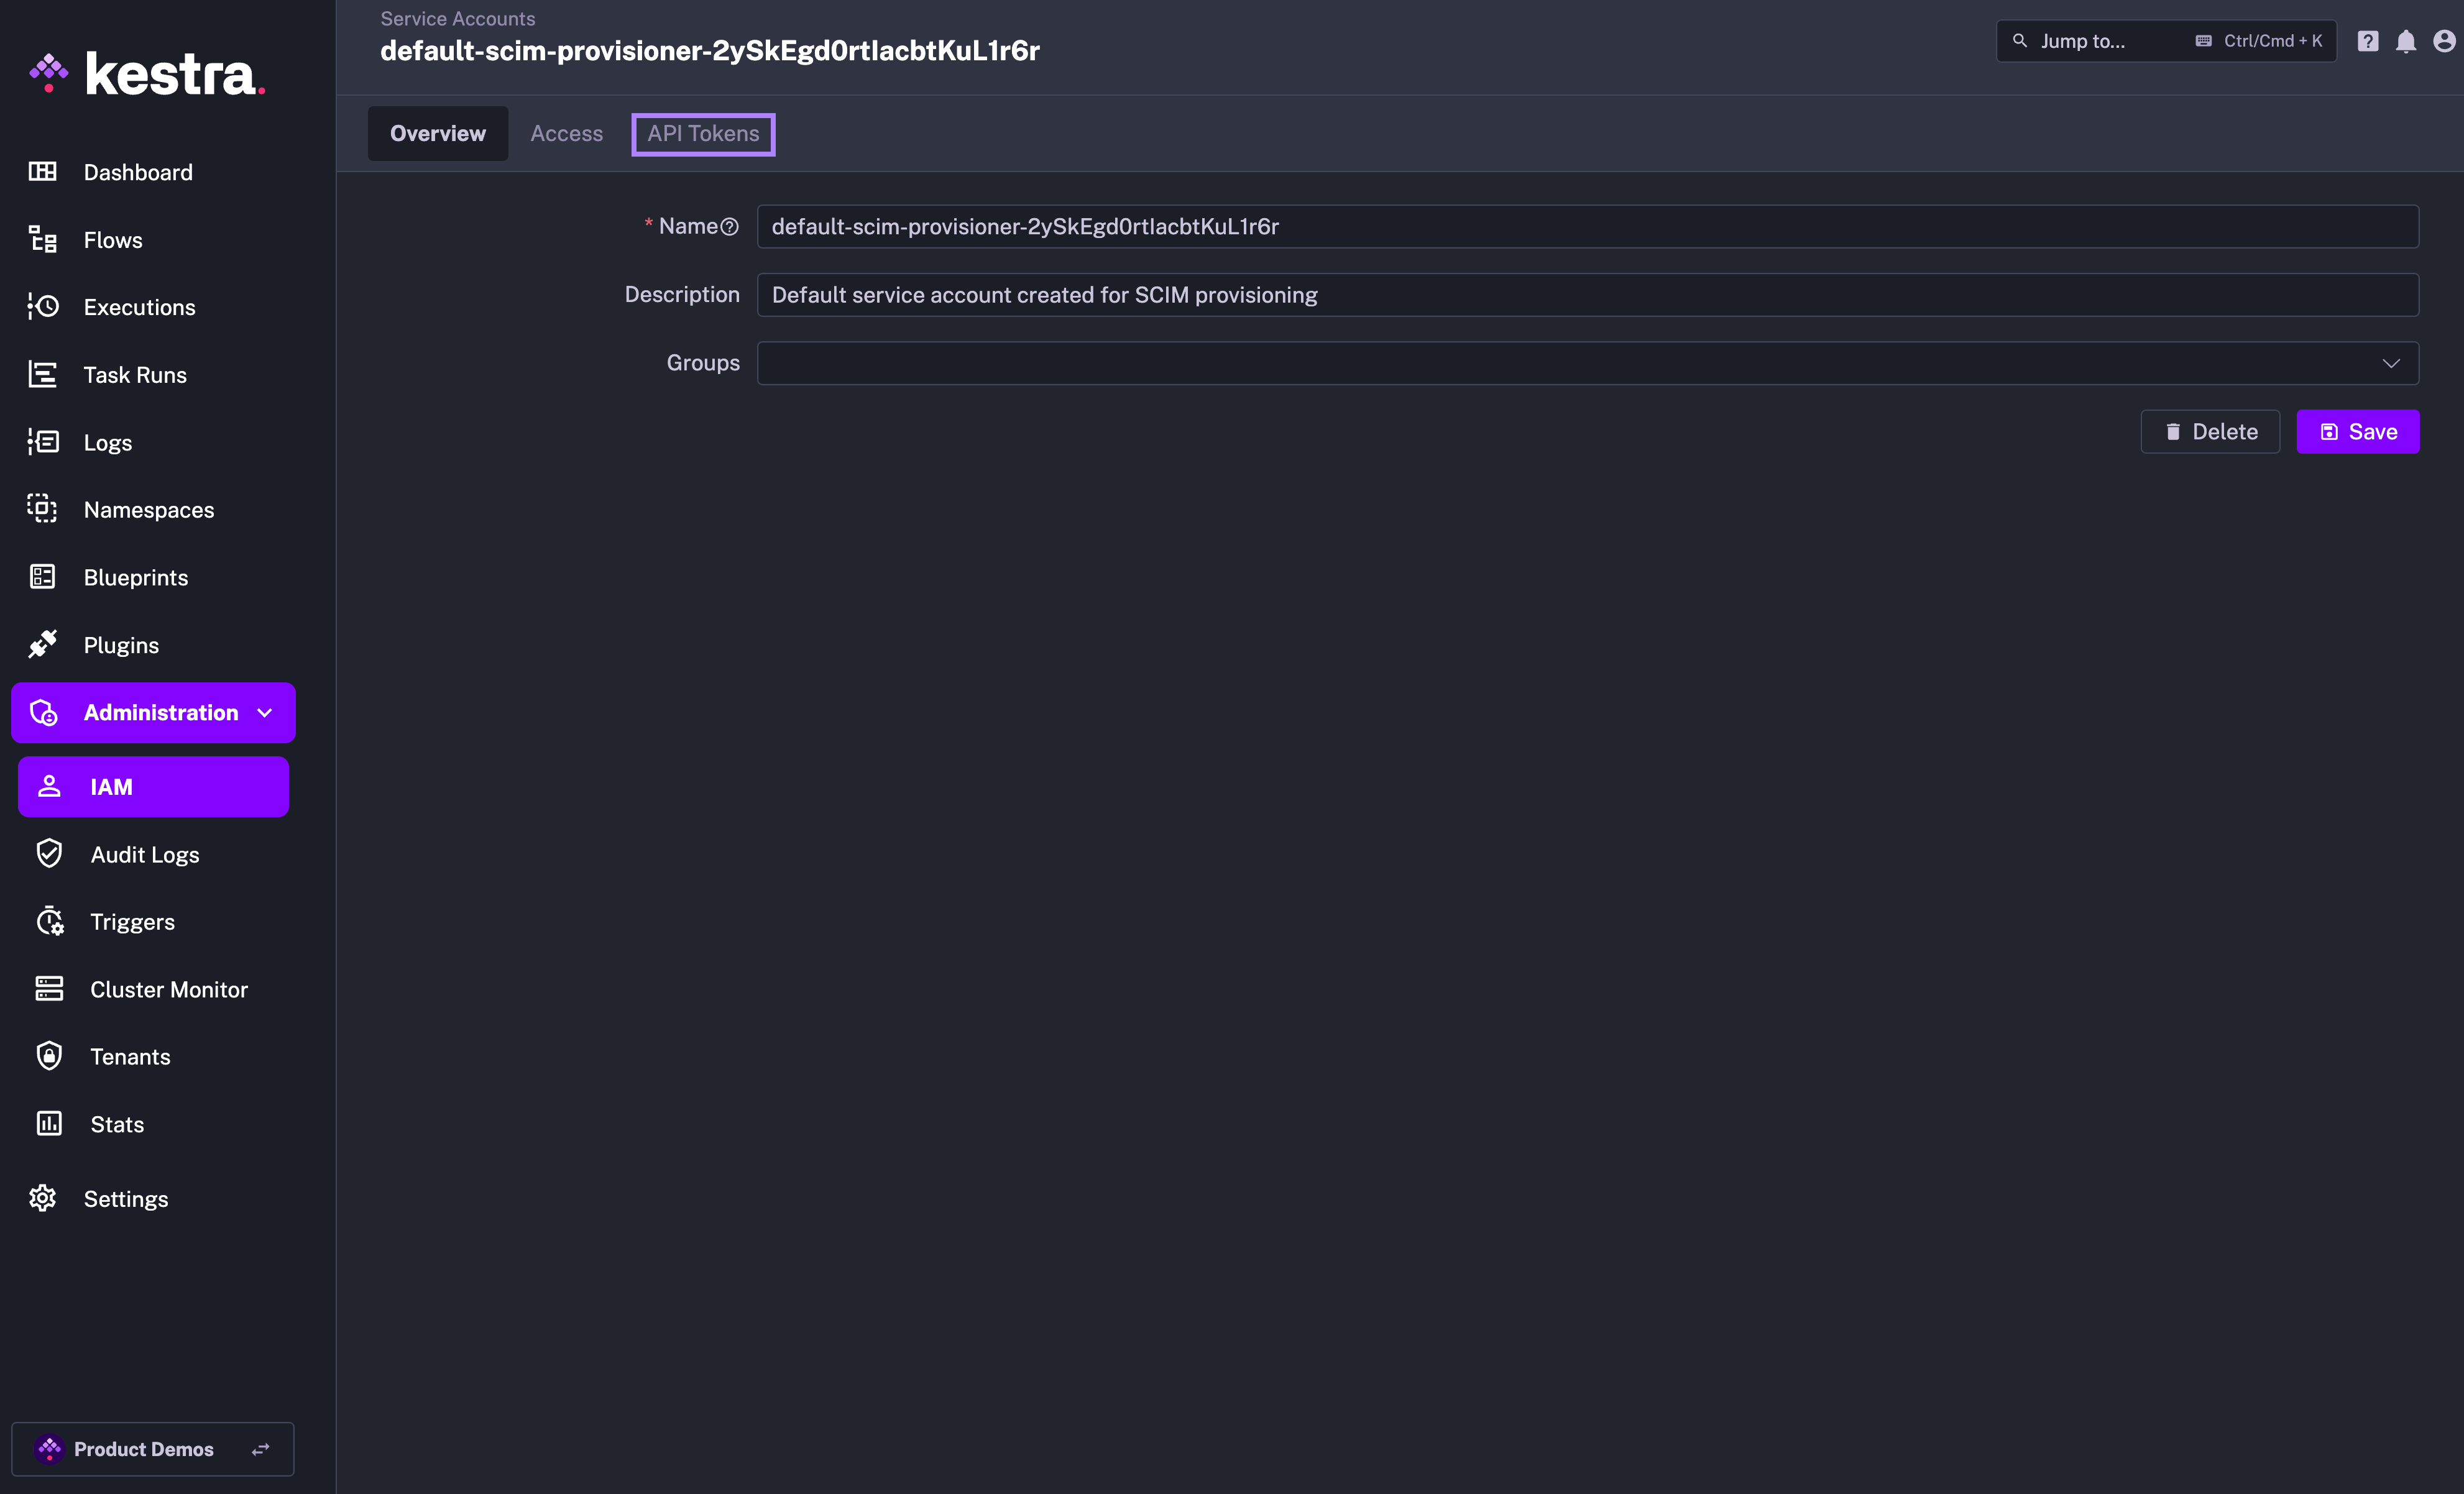
Why the SCIMProvisioner role doesn’t have the DELETE permission for USERS? This is because you cannot delete a user through our SCIM implementation. Users are global and SCIM provisioning is per tenant. When we receive a DELETE query for a user, we remove their tenant access but the user itself remains in the system.
Okta SCIM setup
-
Navigate to Okta Admin Console → Applications → Applications and click Create App Integration:
- Sign-in Method: OIDC - OpenID Connect
- Application Type: Web Application
- Name:
Kestra - Grant Type: Client Credentials
- Sign-in redirect URIs:
http://<kestra-hostname>/oauth/callback/okta - Sign-out redirect URIs:
http://<kestra-hostname>/logout
Note the client ID and client secret once the application is created.
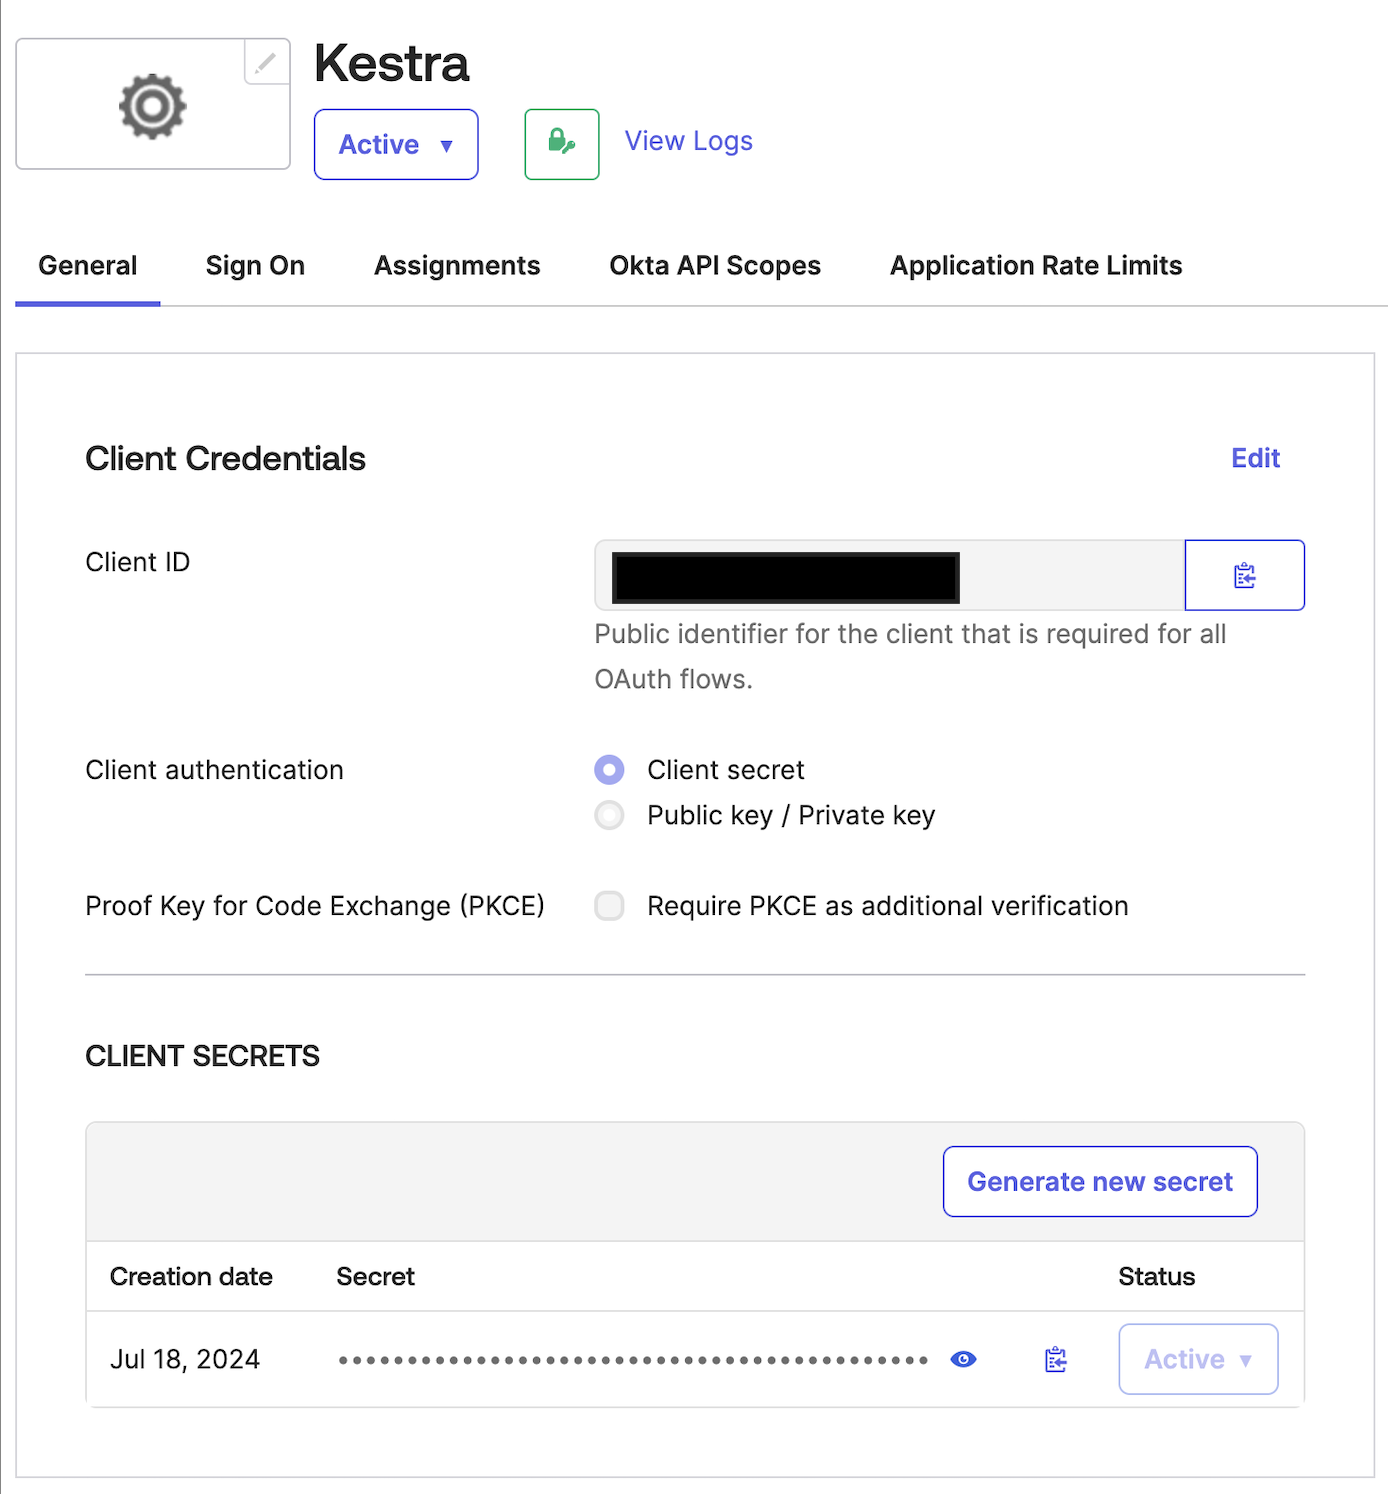
-
Add the client credentials to your Kestra Micronaut configuration, and enter the SCIM endpoint URL and token provided by Kestra:
micronaut:security:oauth2:enabled: trueclients:okta:client-id: “CLIENT_ID”client-secret: “CLIENT-SECRET”openid:issuer: “https://{okta-account}.okta.com/” -
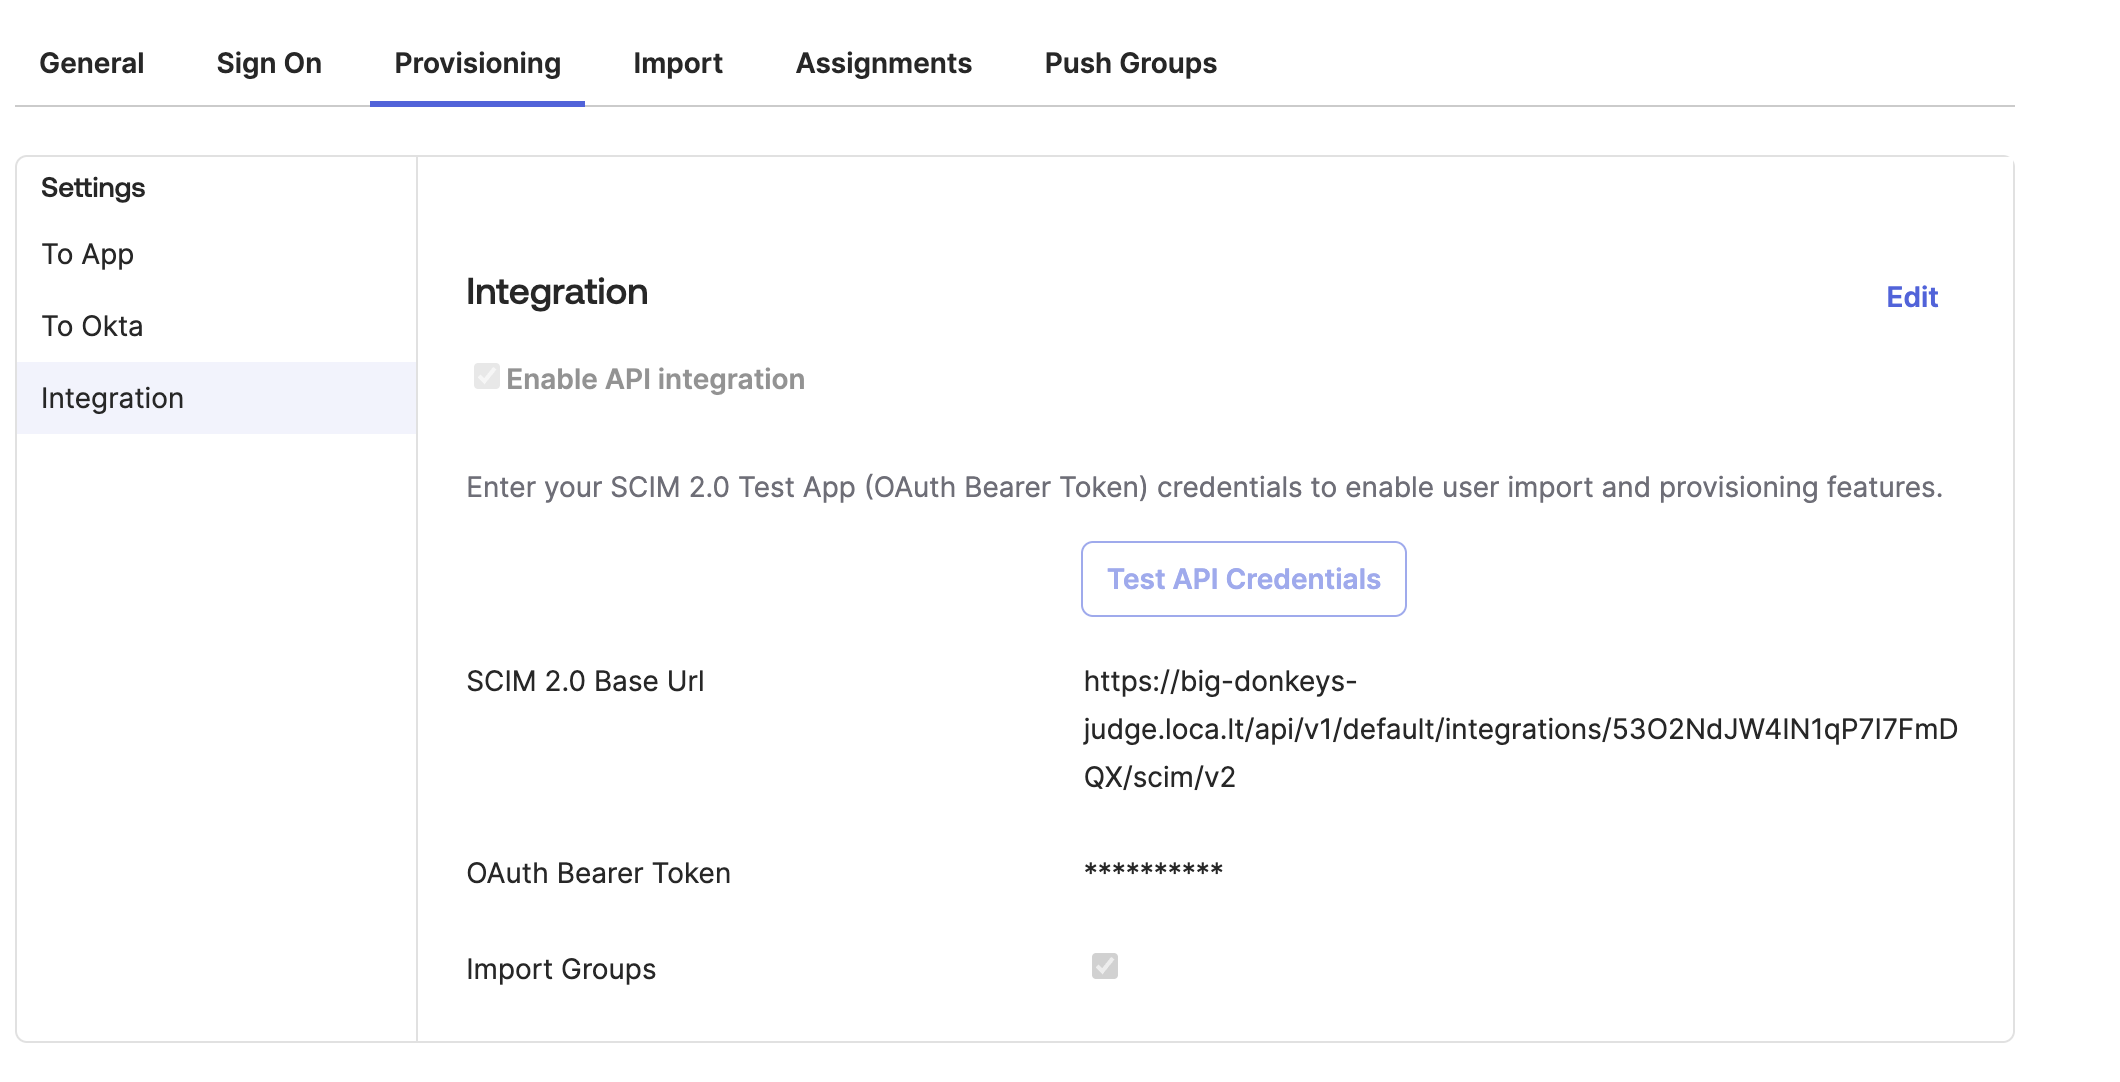
In Okta, navigate to Applications → Applications → Browse App Catalog, search for SCIM 2.0, and select SCIM 2.0 Test App (OAuth Bearer Token). In Sign-in options, select Secure Web Authentication, then click Done. Select the new integration, open the Provisioning tab, and enter the Kestra SCIM endpoint URL in the Base URL field and the Secret Token in the OAuth Bearer Token field. Click Test API Credentials to verify.
-
Select Push Groups and choose the groups to sync to Kestra. Run a test to verify the mappings.
-
Enable the provisioning integration toggle in the Kestra UI to begin automatic synchronization.
Additional resources
Was this page helpful?