
Authenticate Users via Okta OpenID Connect
For the complete documentation index, see llms.txt. For a full content snapshot, see llms-full.txt. Append.mdto anykestra.io/docs/*URL for plain Markdown.
Prerequisites
- An Okta Developer Account or Organization with administrative access.
For more detail, refer to the Okta OIDC setup documentation.
Step 1: Create an App Integration
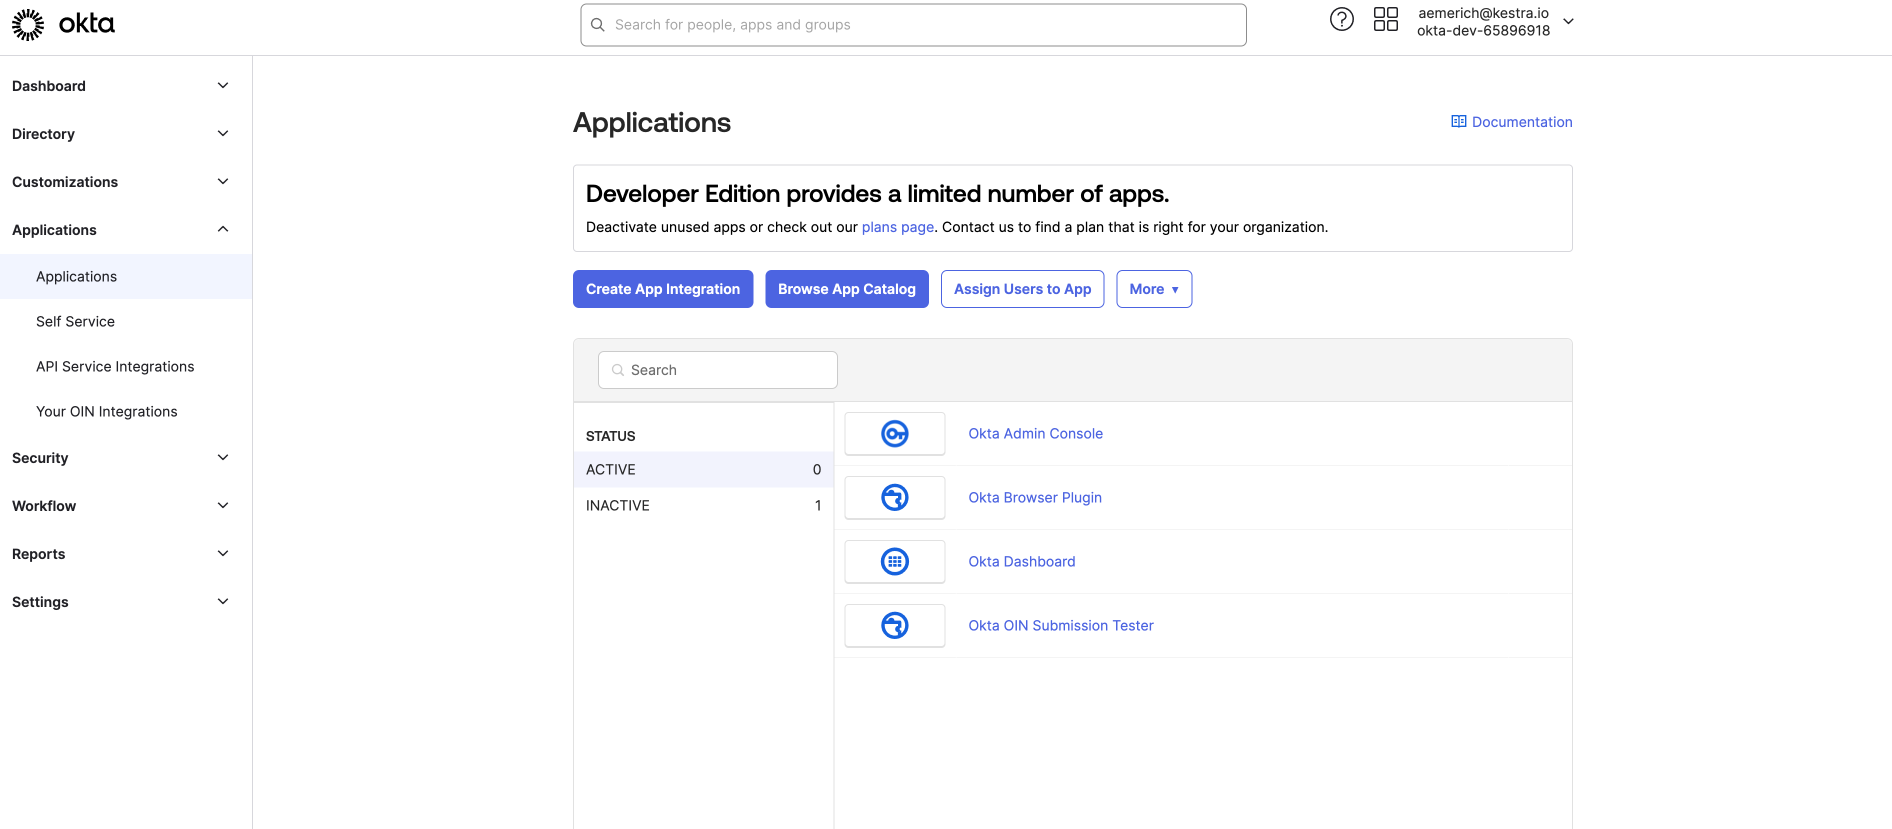
Log in to your Okta account and select Applications from the left side menu.
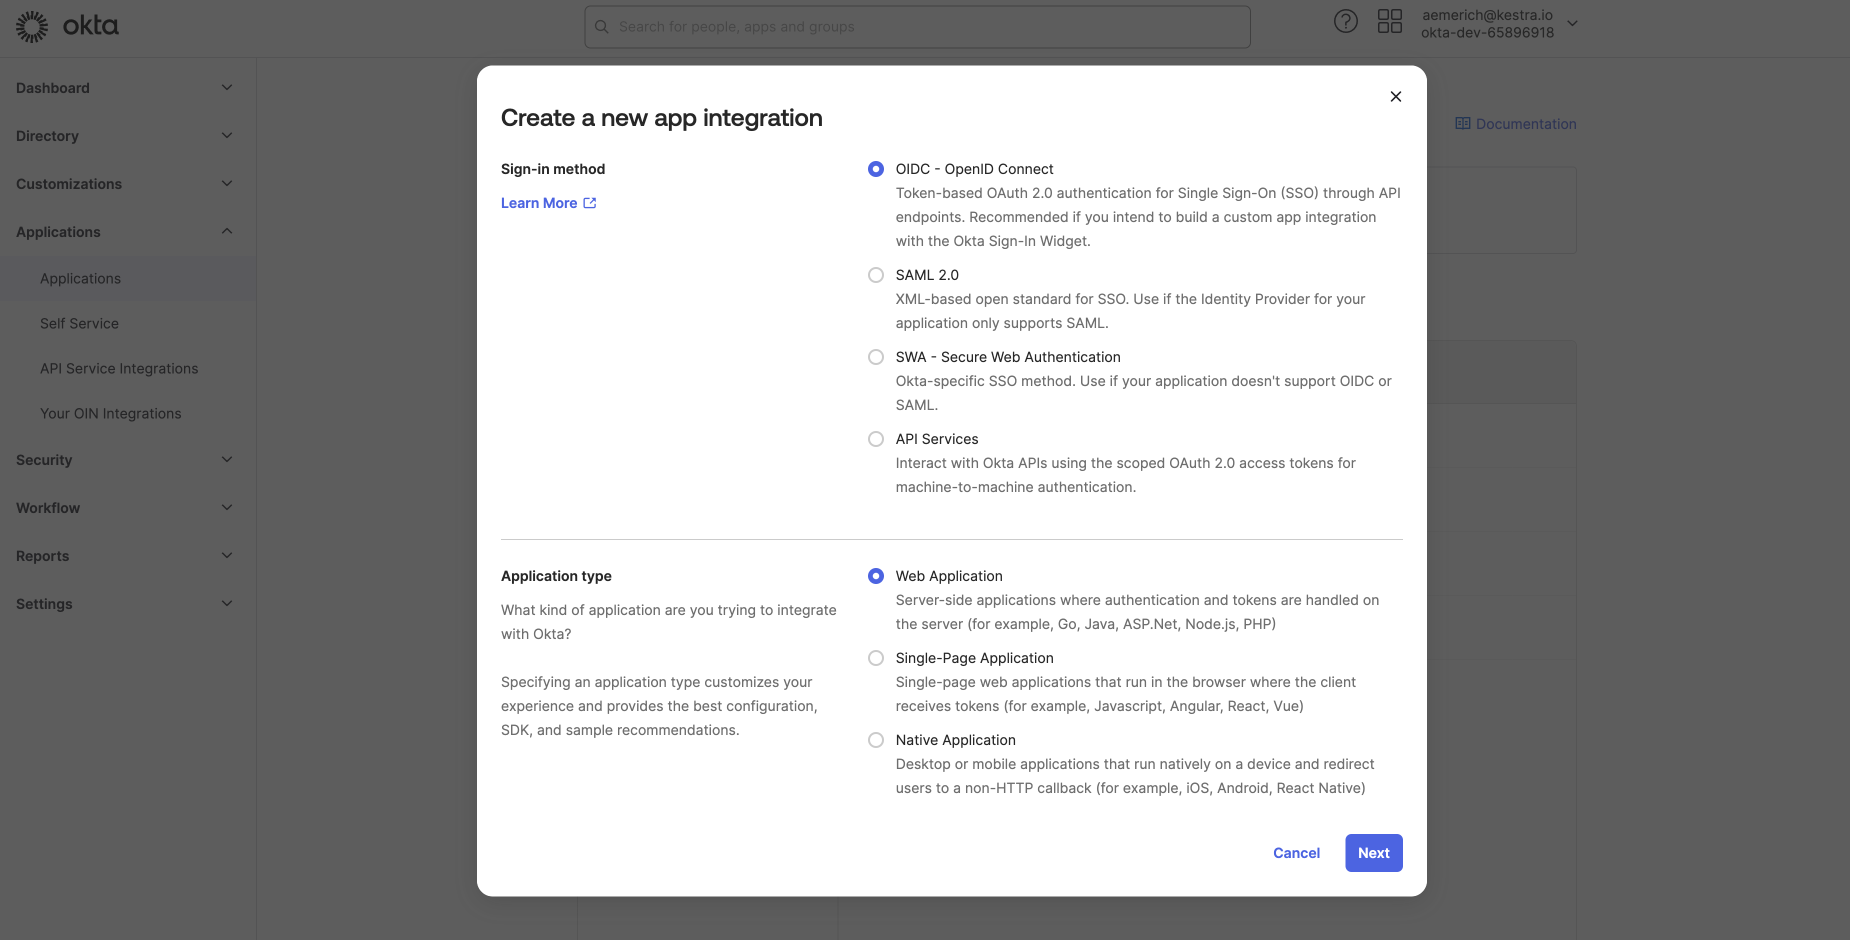
Next, select Create App Integration, select OIDC - OpenID Connect as the sign-in method and Web Application as the application type. Select Next to configure the general settings of the new web app integration.
Step 2: Configure the web app integration
In the General Settings, give your App integration a name and set your grant type. For this example, we are using Authorization Code. You can open Advanced Settings to configure more sensitive grants. Okta has several direct-auth API grants, such as OTP, OOB, MFA OTP, and MFA OOB that you can select only if necessary.
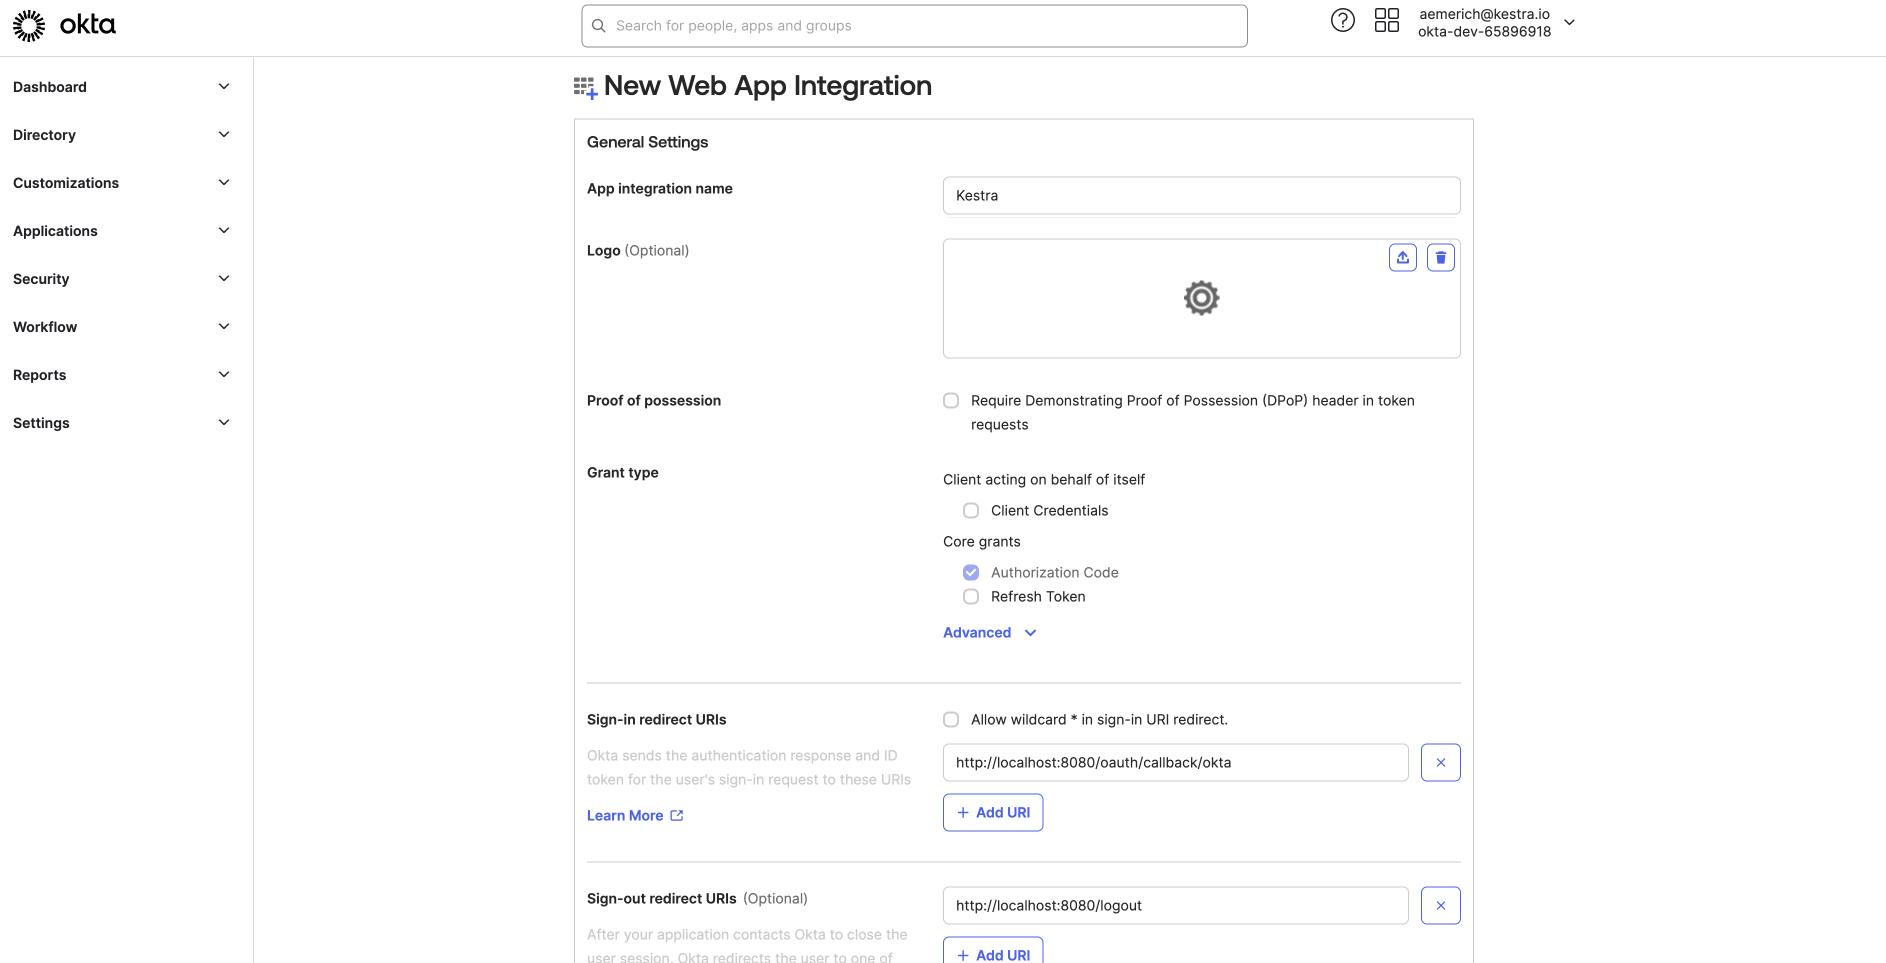
Here, you also set the Sign-in redirect URIs and Sign-out redirect URIs for your App integration. For this example connecting to Kestra, we set a Sign-in redirect URI as http://localhost:8080/oauth/callback/okta and sign-out as http://localhost:8080/logout, but you can customize this to your environment.
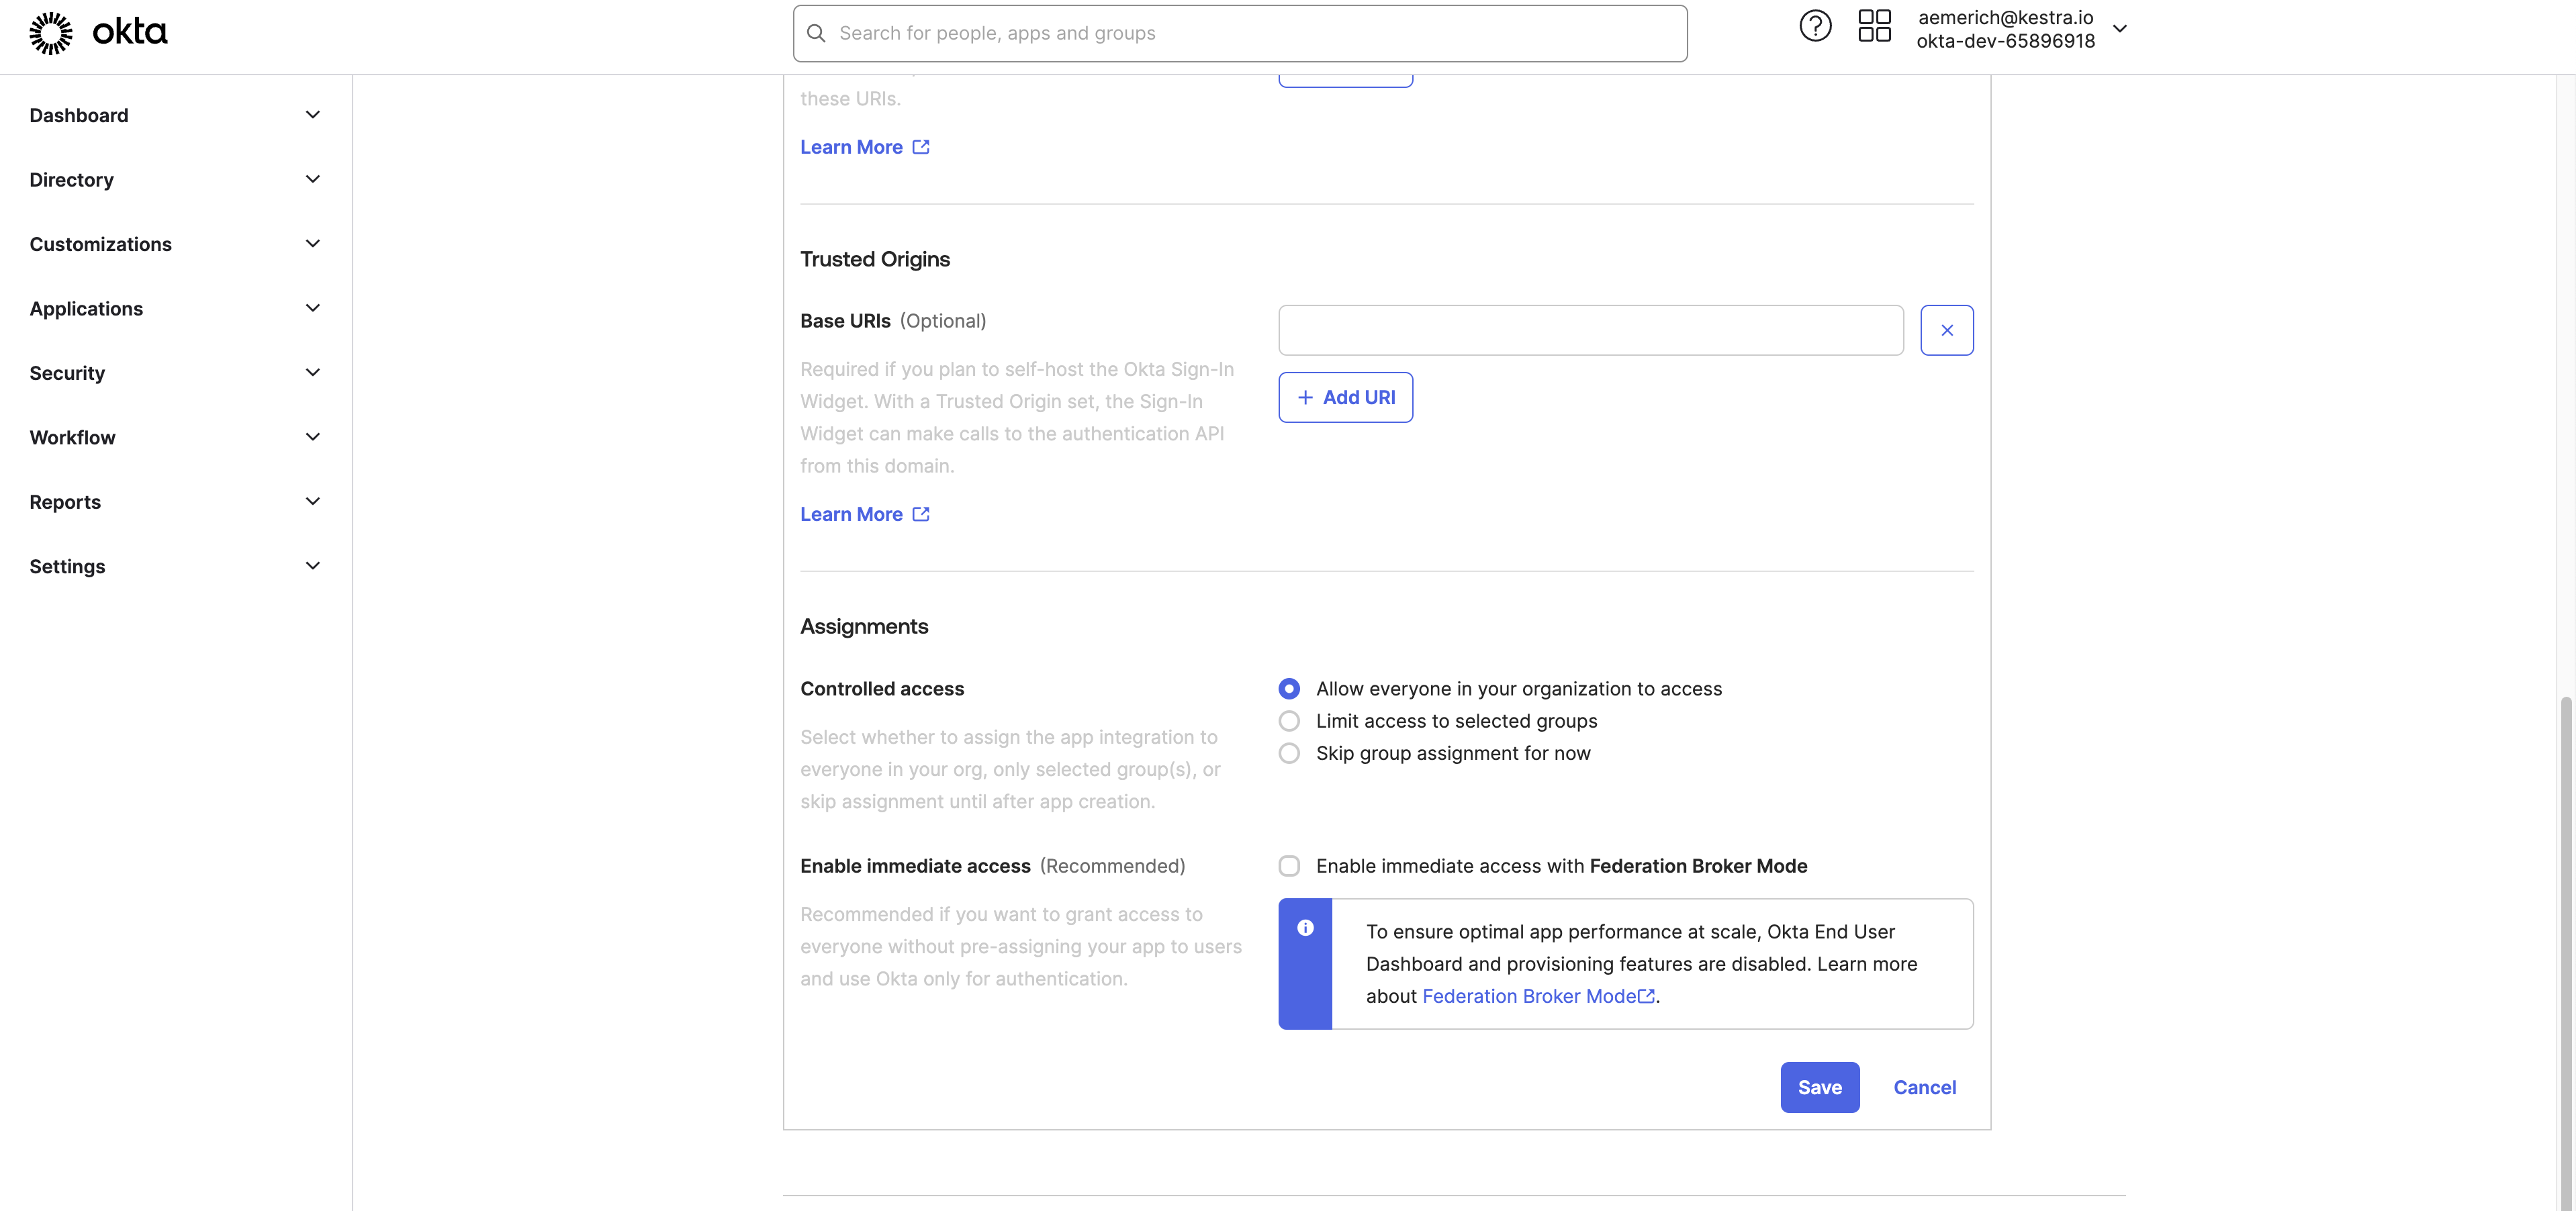
Further down the page, you can configure optional Trusted Origins, and then choose the Assignments and the access settings for the App integration.
We’ll set the access to everyone in the organization, but you can set stricter access to only certain selected groups or skip for now. Lastly, we uncheck the setting to enable immediate access with Federation Broker Mode because we will give manual app access for this basic example. Click Save.
Step 3: Add test user to Okta app integration
To create a test user in your Okta Directory to test your app integration, in your Okta Admin Dashboard, navigate to Directory → People. Select Add Person.
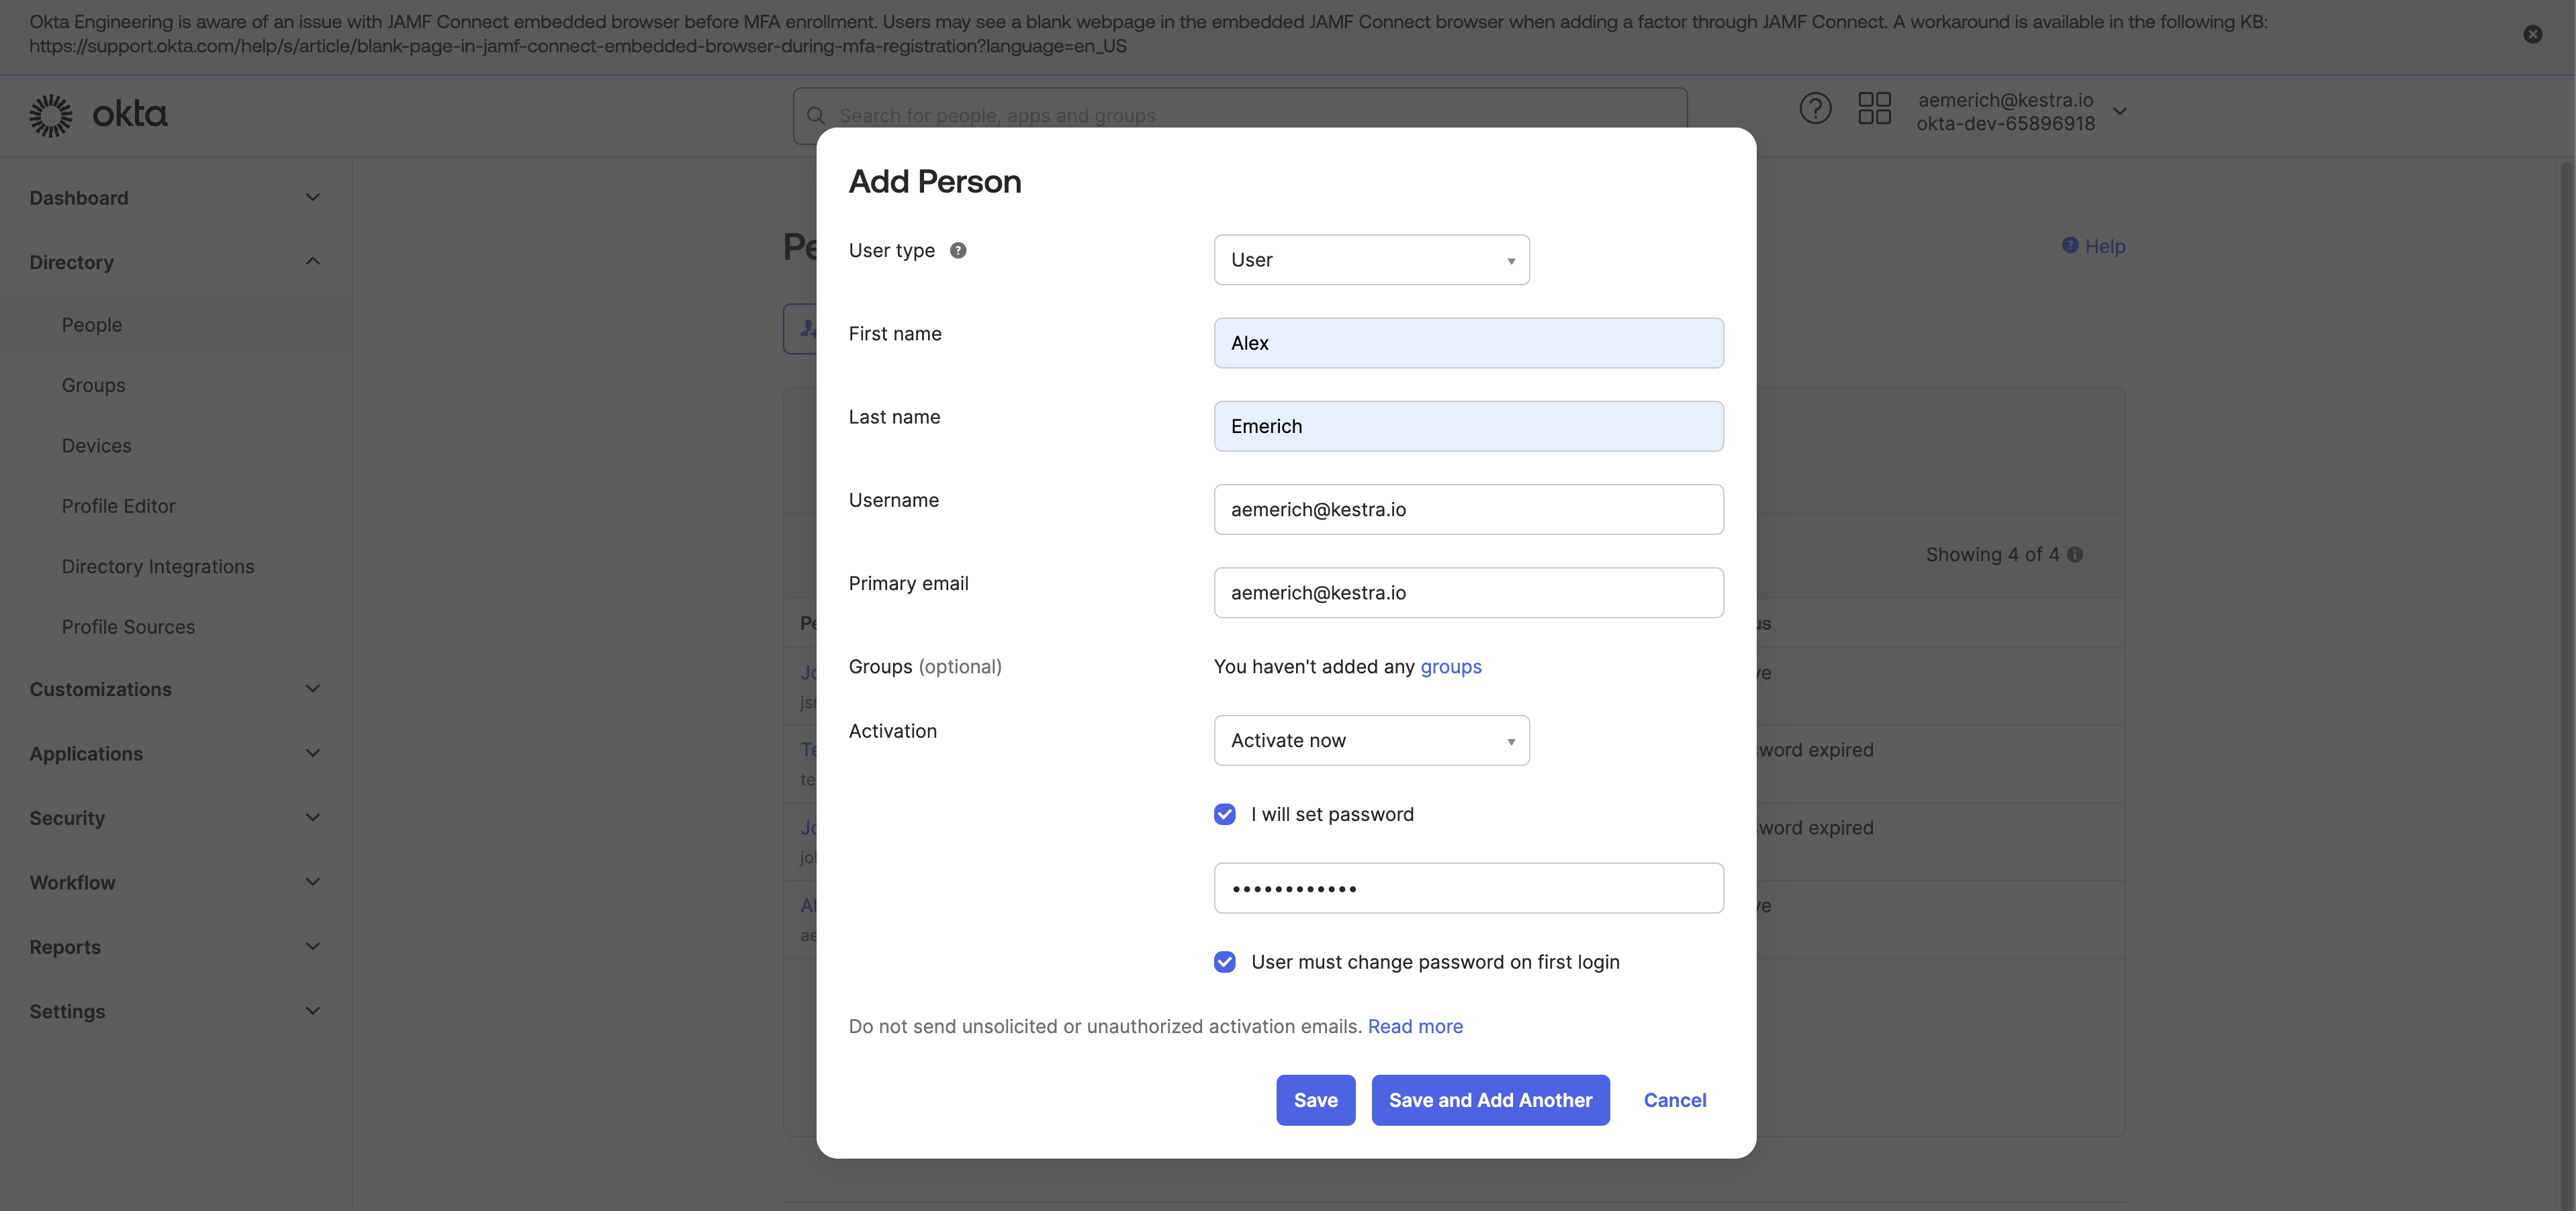
Enter user test details, including a password, and save the test user.
In the Directory, select the new user, and navigate to the Applications tab for the user and choose Assign Applications.
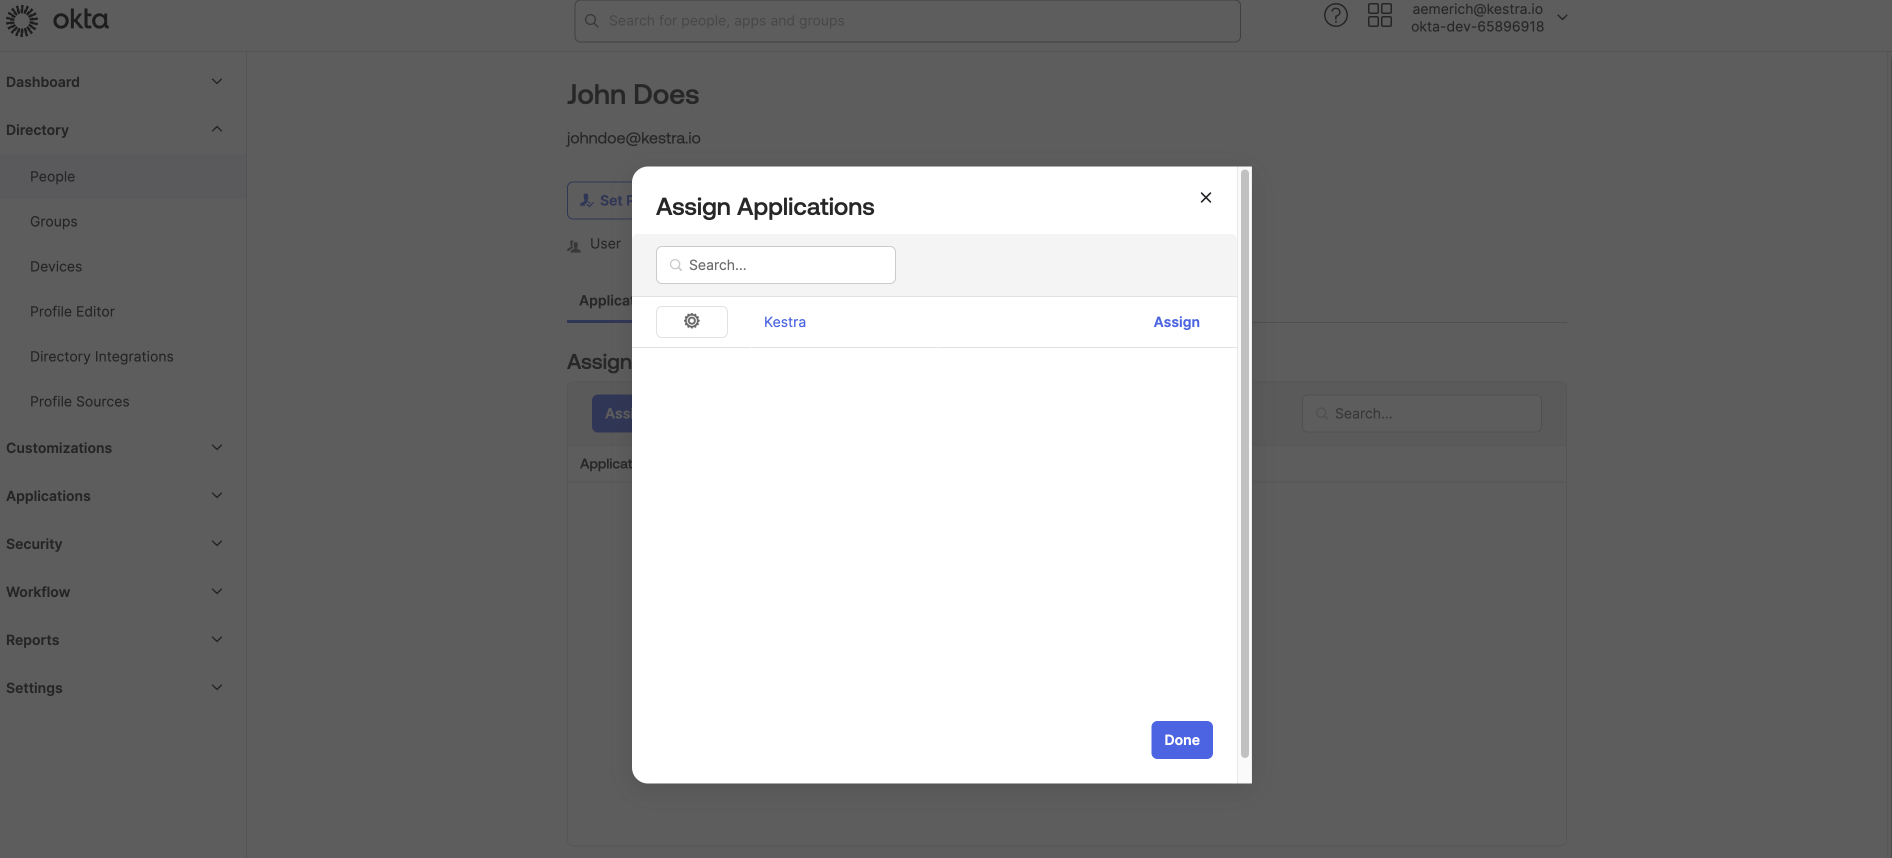
Select the Kestra application, enter the required details for the user, and click Save.
Step 4: Connect to Kestra
After saving, Okta redirects you to your integration, where you can find your Client ID and Client Secret.
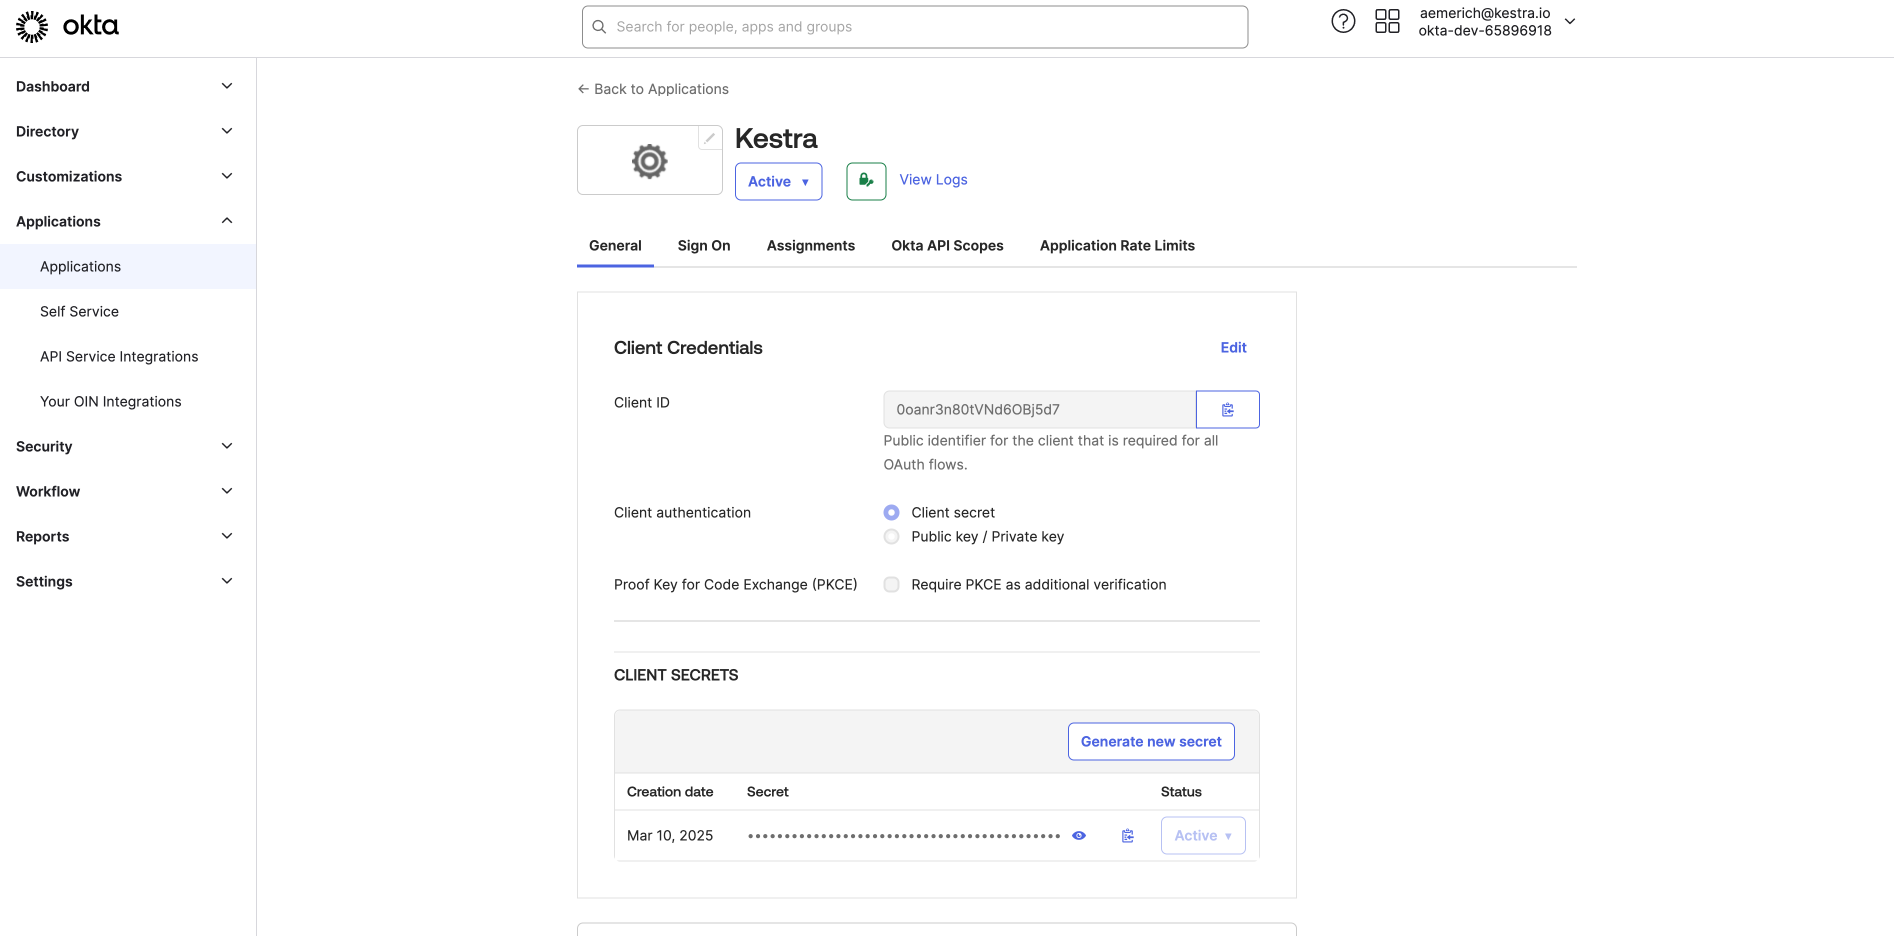
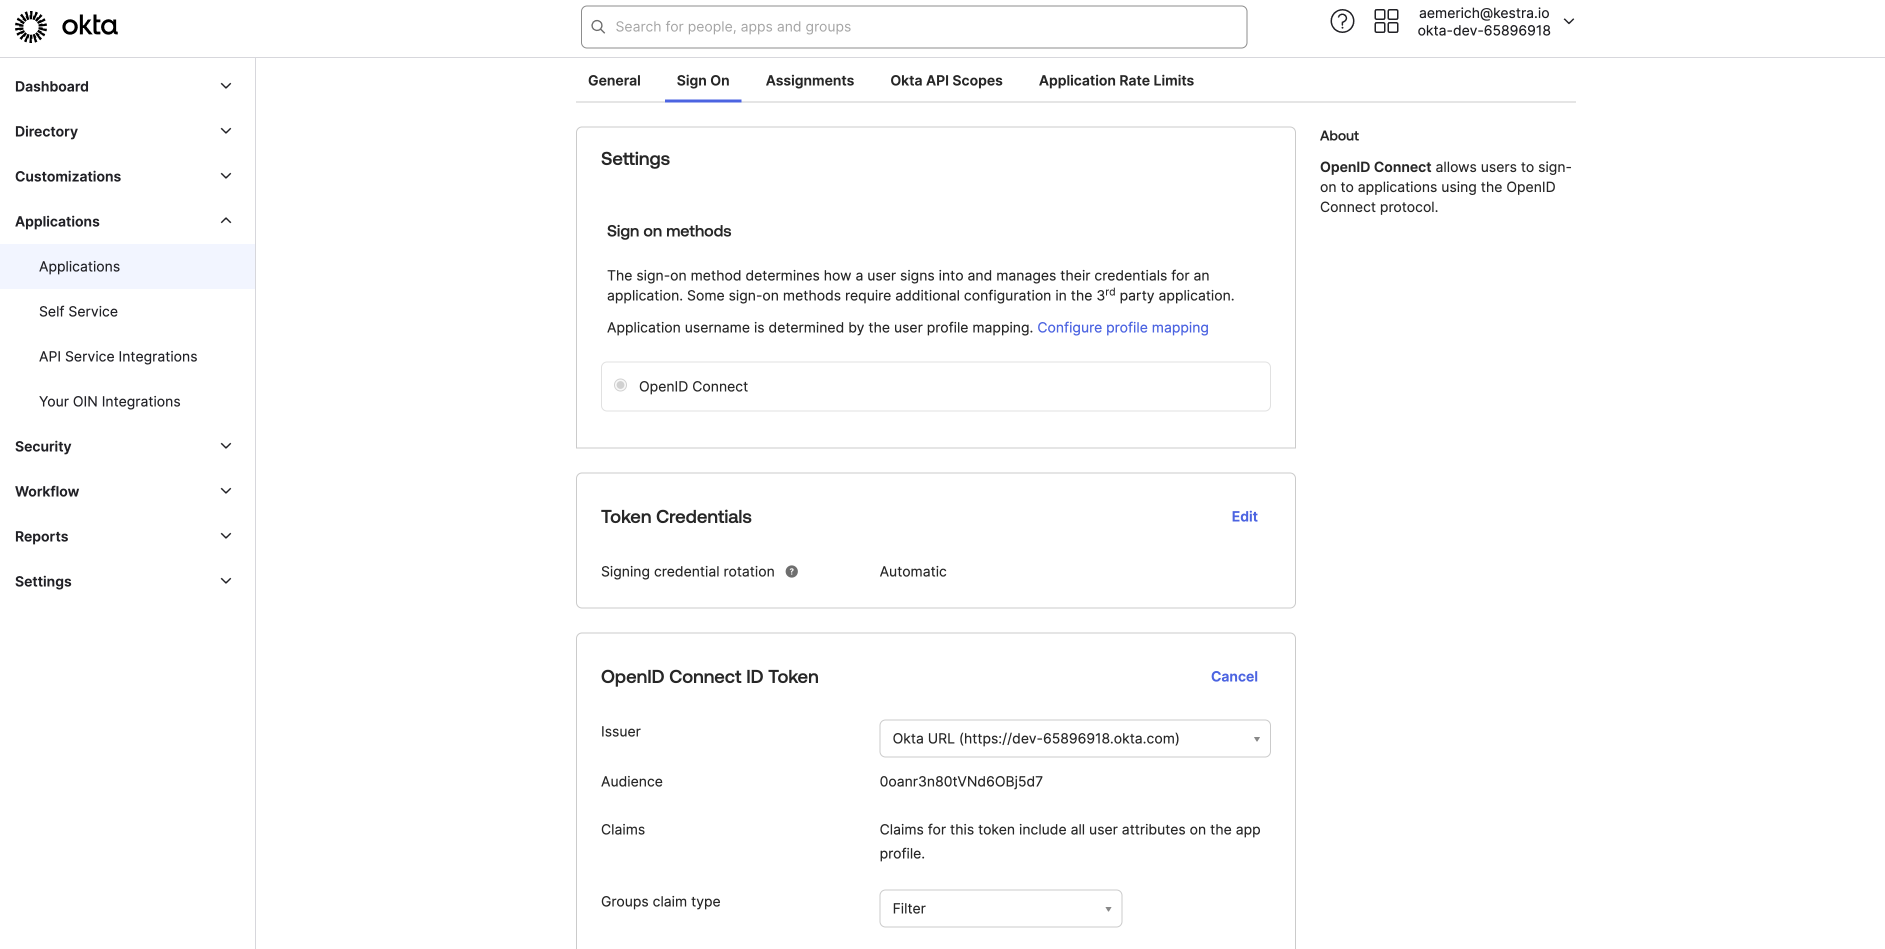
After copying your Client ID and Client Secret, switch to the Sign On tab. Under OpenID Connect ID Token, change the issuer from Dynamic to your Okta URL. Click Save and copy the URL for use in your Kestra Security and Secrets configuration.
Add the following configuration to enable Okta as an OIDC provider:
micronaut: security: oauth2: enabled: true clients: okta: client-id: "{{ clientId }}" client-secret: "{{ clientSecret }}" openid: issuer: 'https://<your-domain-id>.okta.com'- Replace
clientIdandclientSecretwith the values copied from the Okta App integration. - Replace
issuerwith your issuer URL from the application’s sign-on settings. - Restart Kestra to apply the changes and log in.
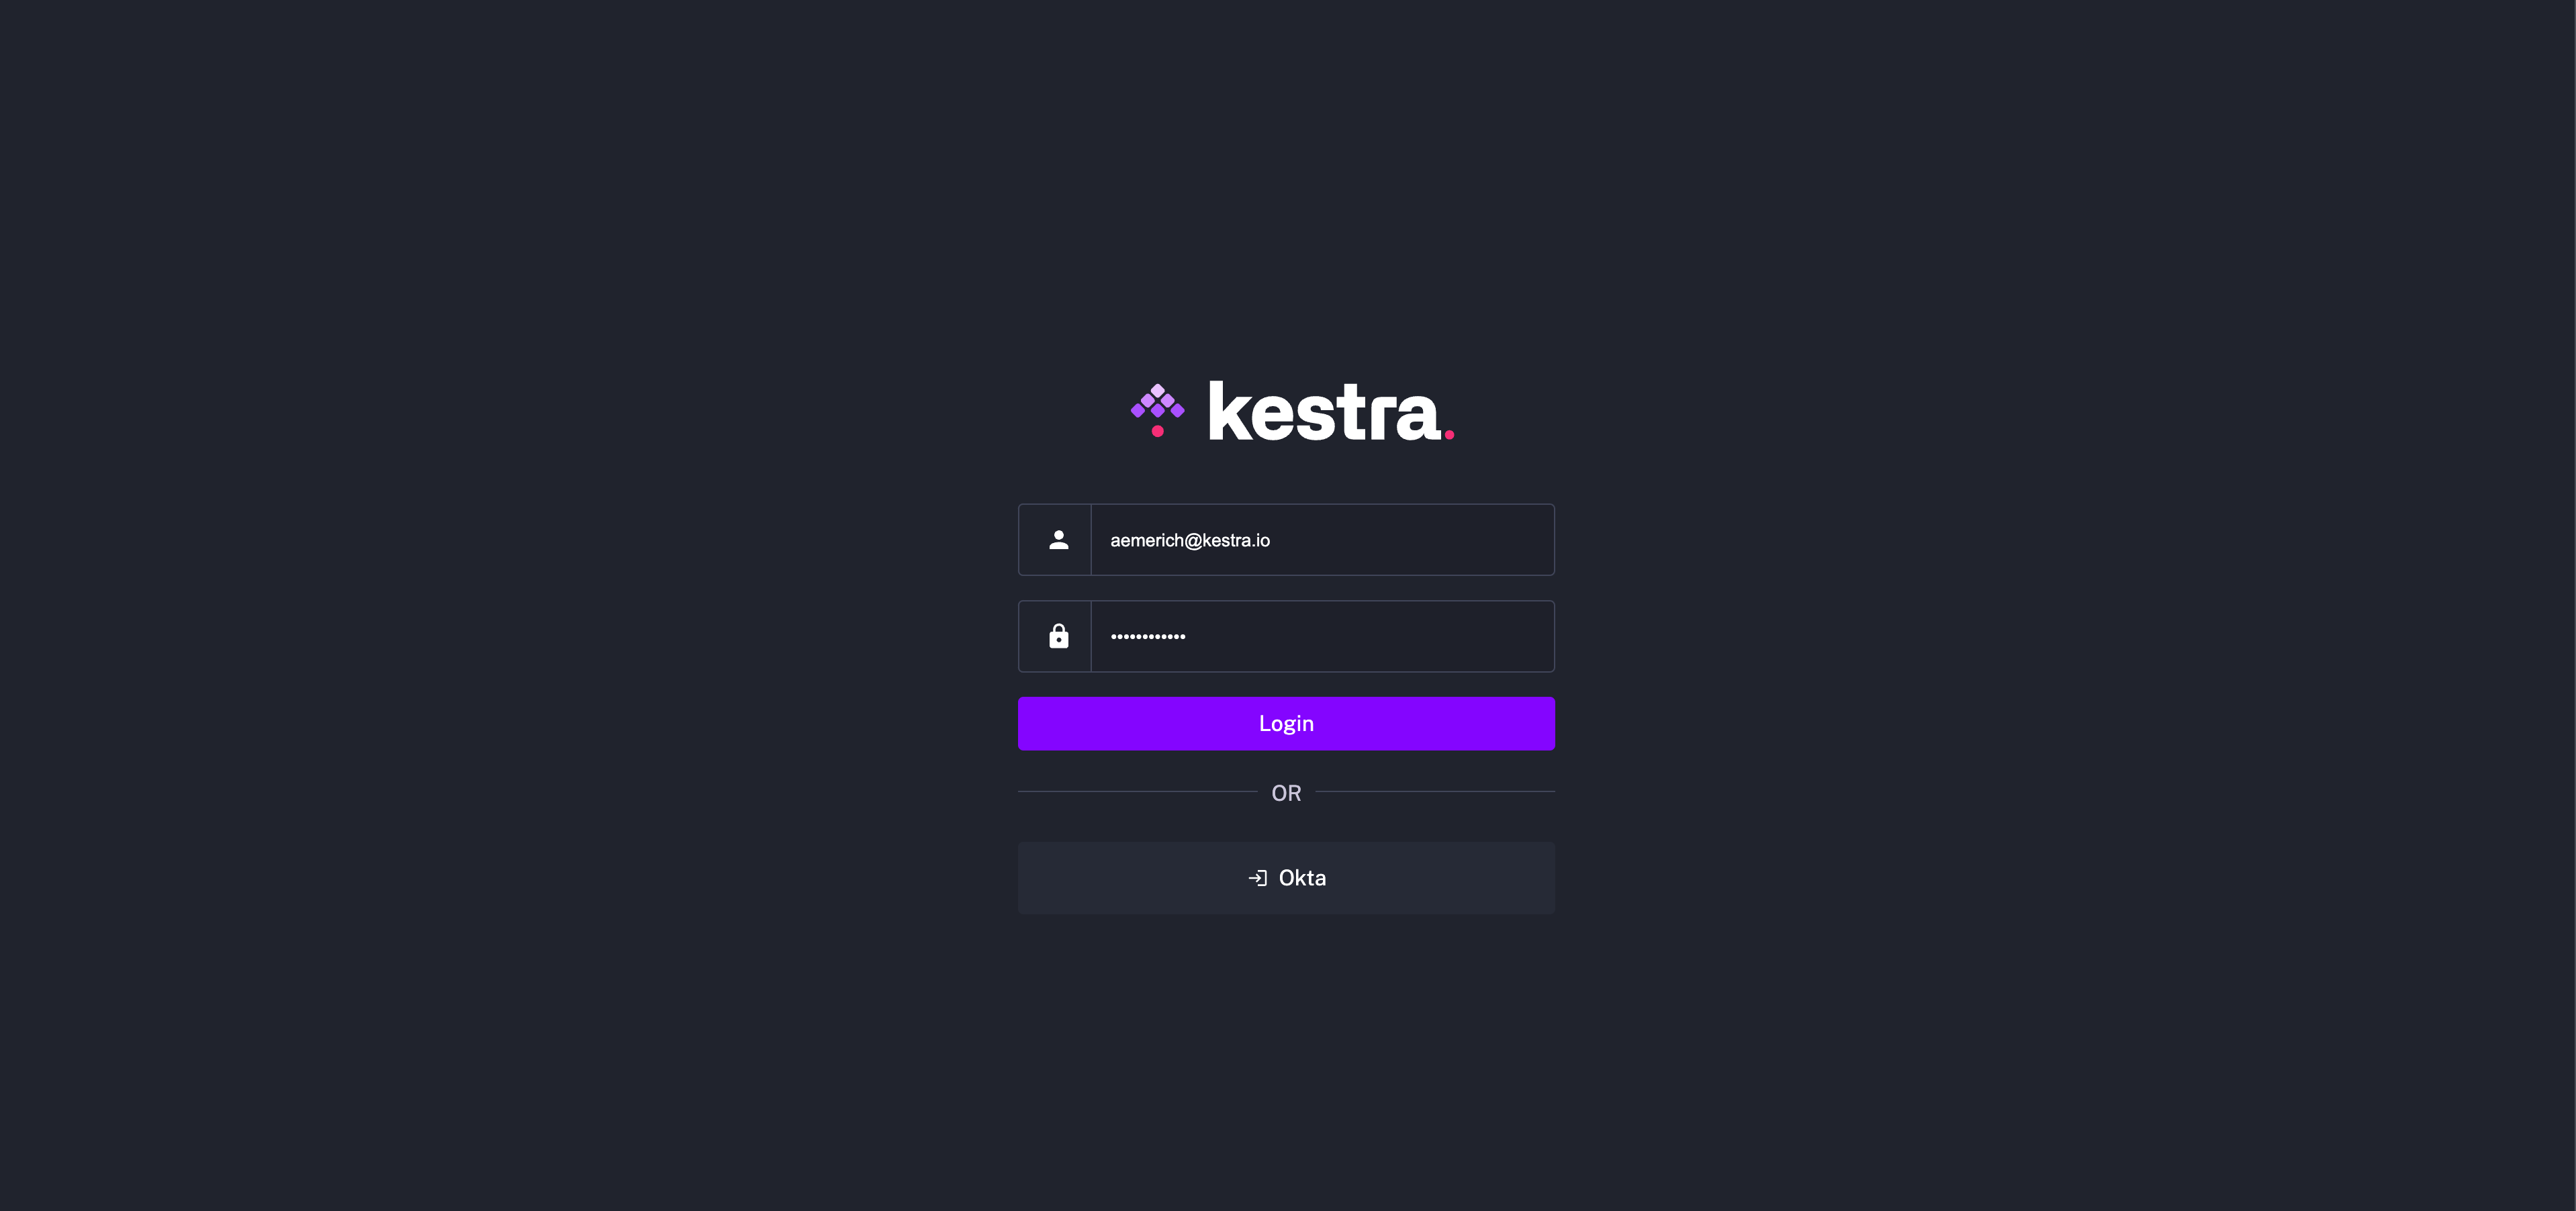
On restart, Okta appears as an available login method.
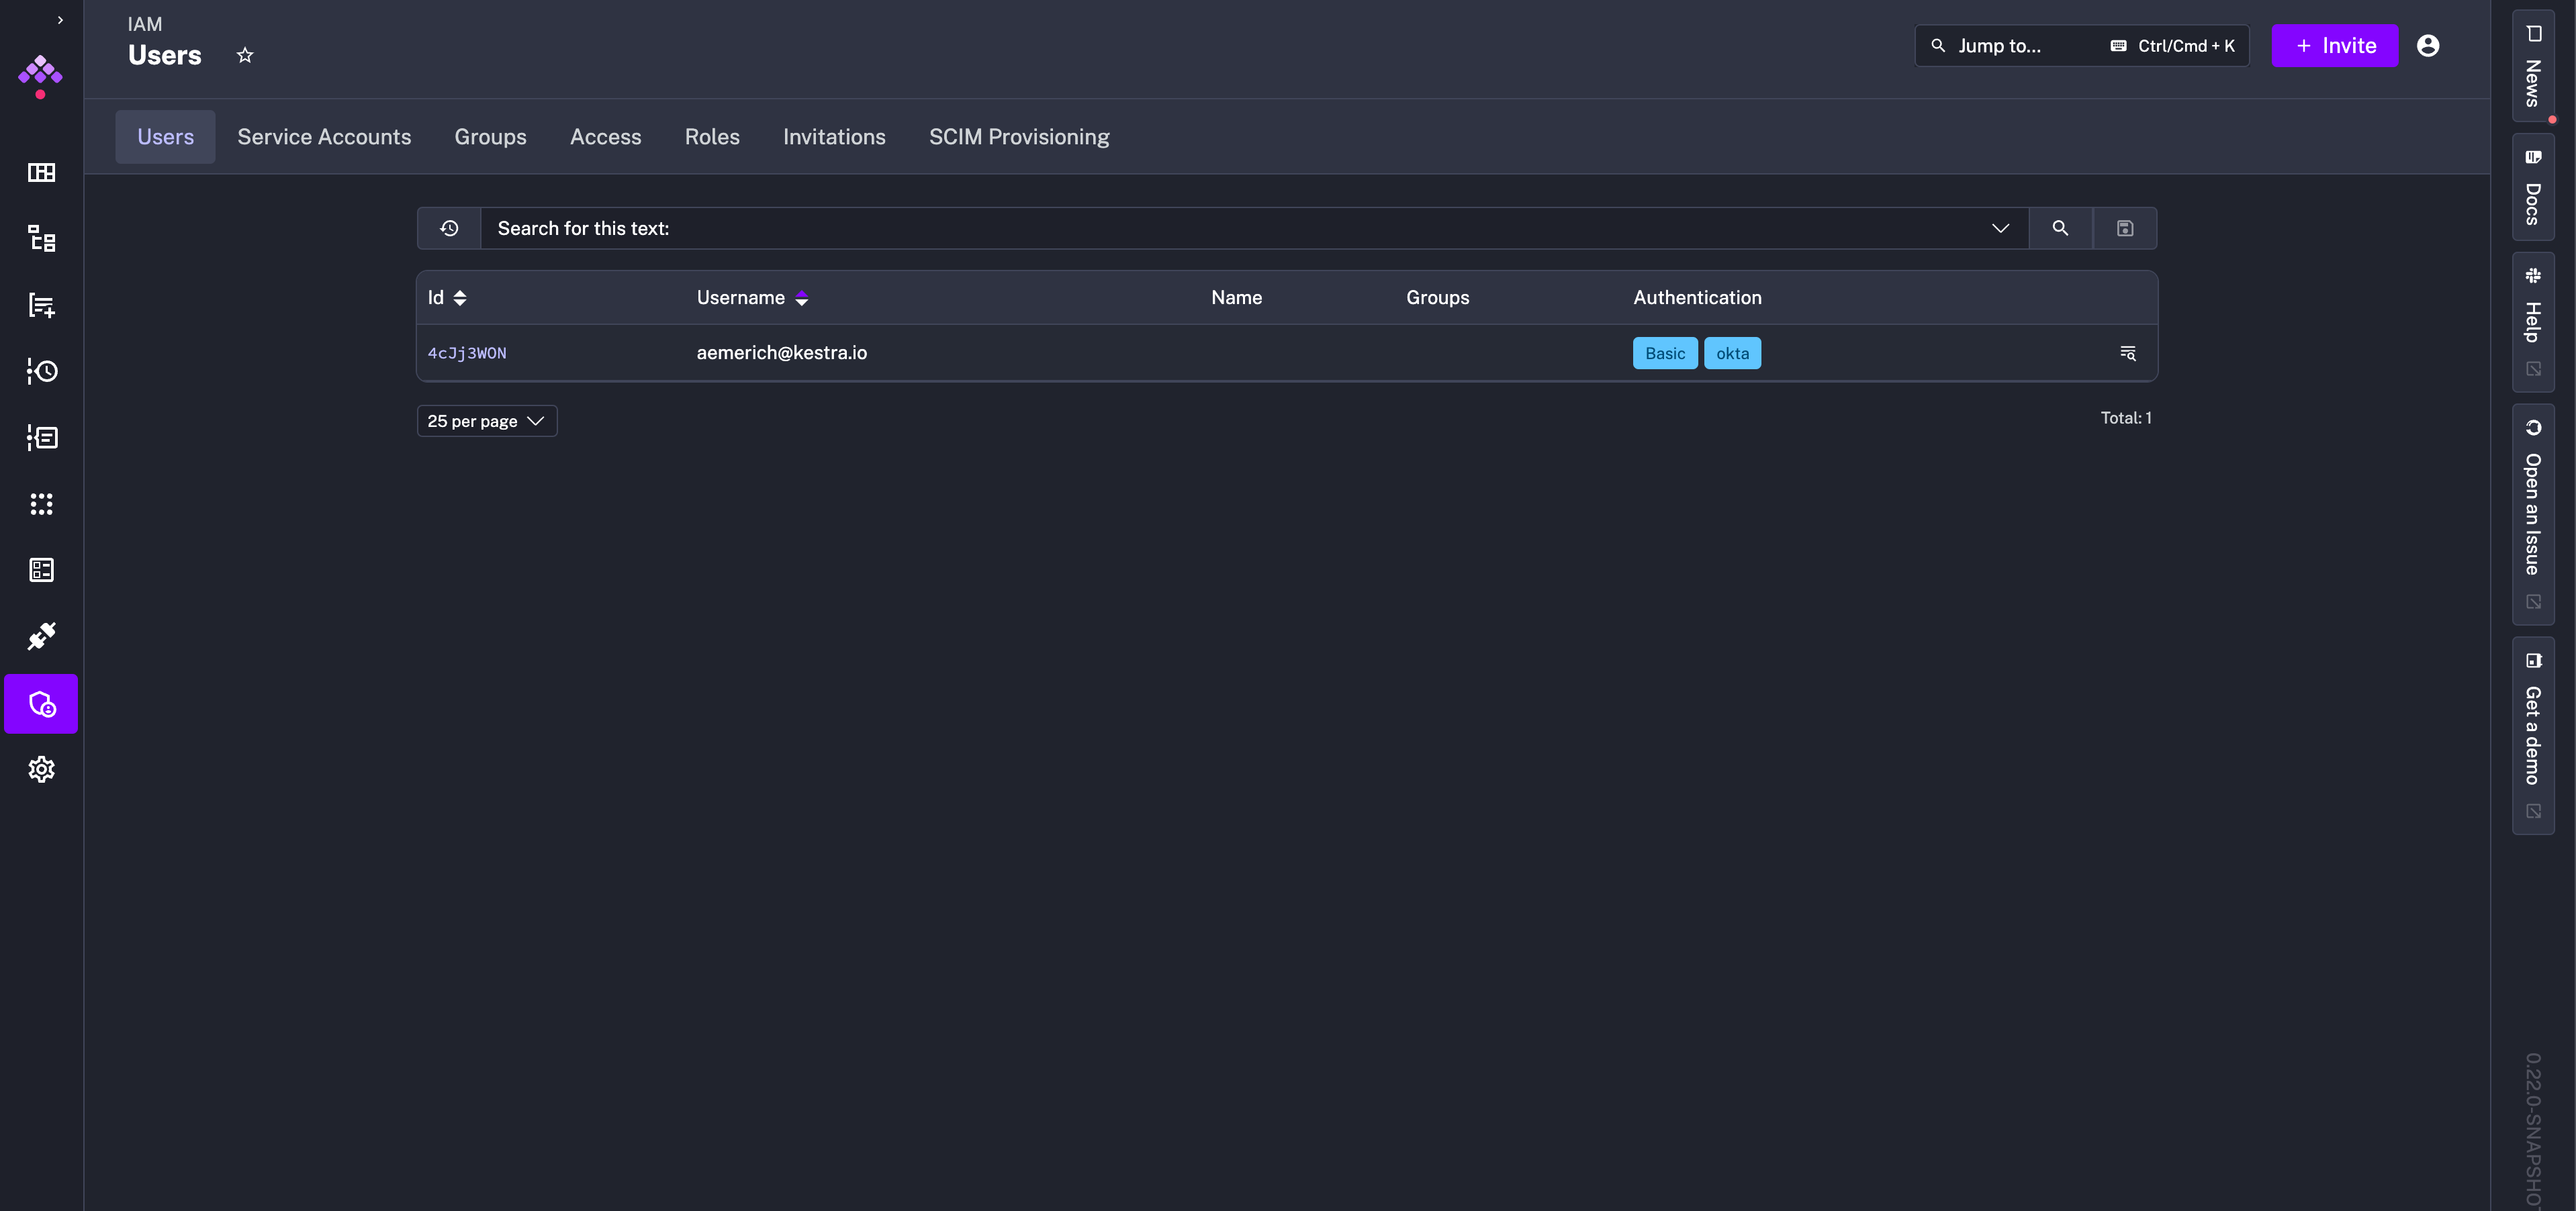
After logging in, go to IAM → Users to confirm the user shows both login methods in the Login & API Tokens column.
Was this page helpful?