
Configure authentik as Your OIDC Provider
For the complete documentation index, see llms.txt. For a full content snapshot, see llms-full.txt. Append.mdto anykestra.io/docs/*URL for plain Markdown.
Set up authentik as an OIDC provider for Kestra authentication. In conjunction with SSO, see the authentik SCIM provisioning guide.
Install authentik
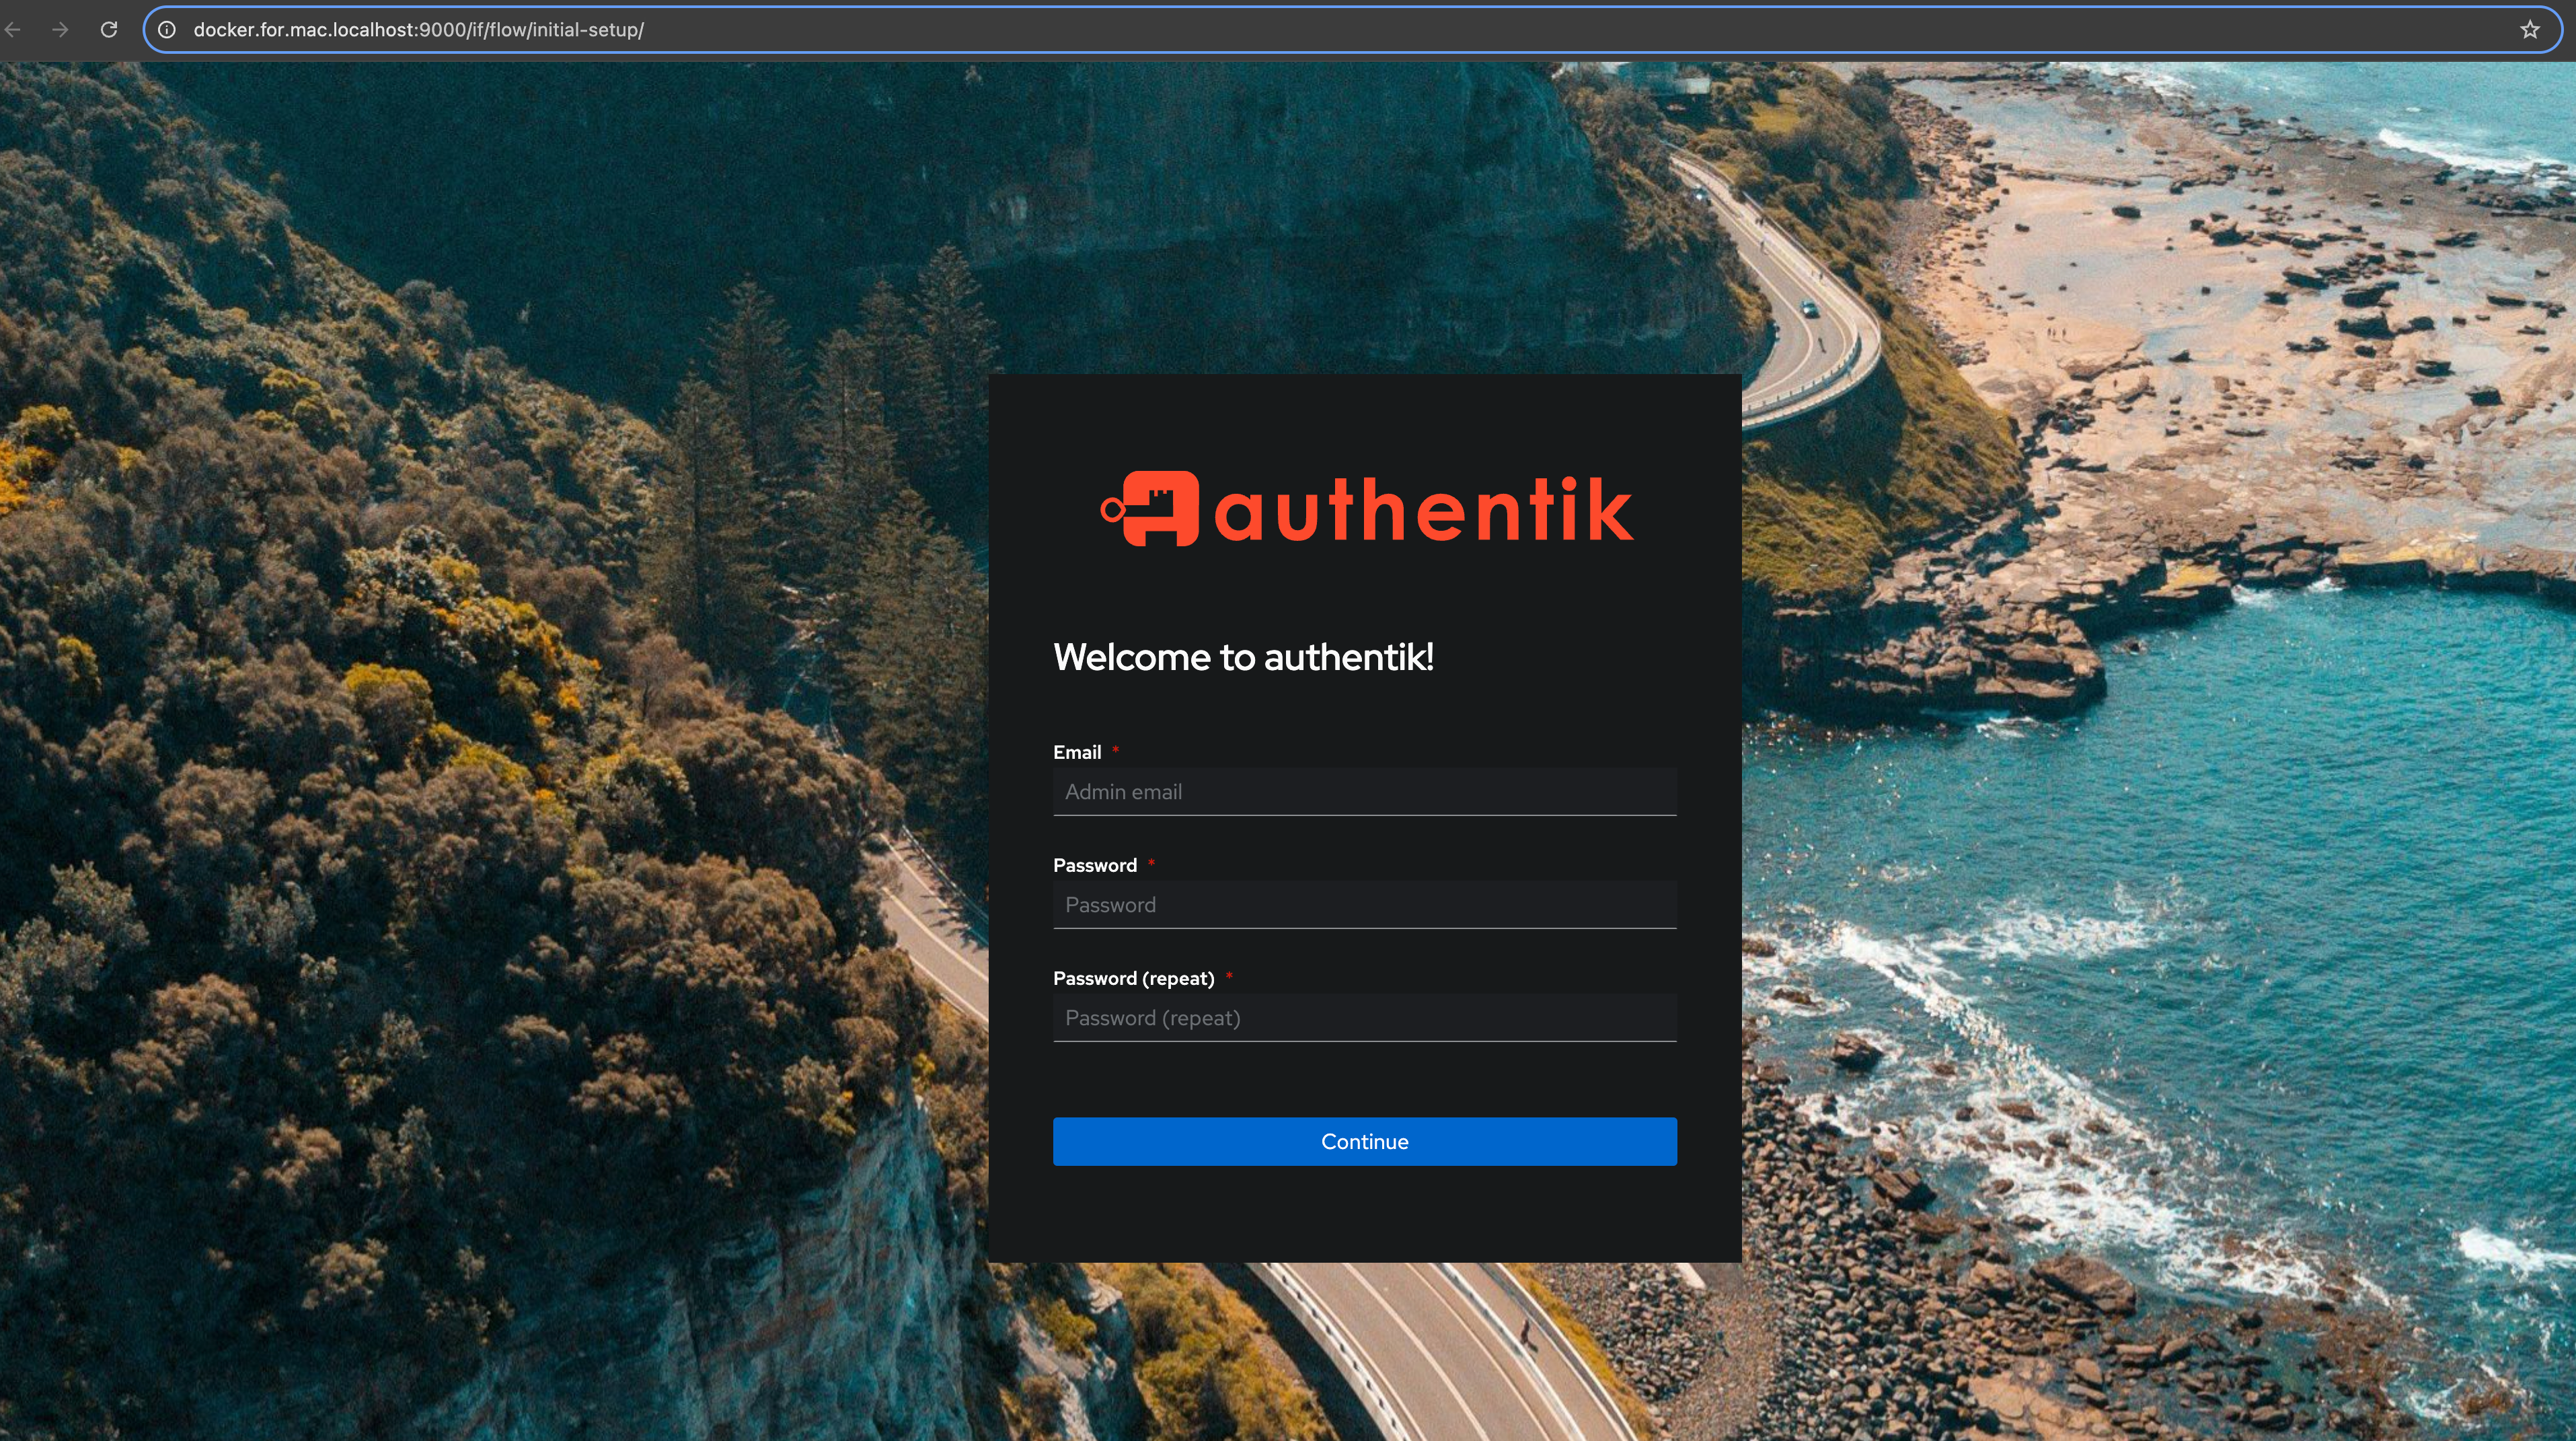
authentik provides a simple docker-compose installer for testing purposes. Follow the instructions and click on the initial setup URL to create your first user.
Create application and SSO provider in authentik
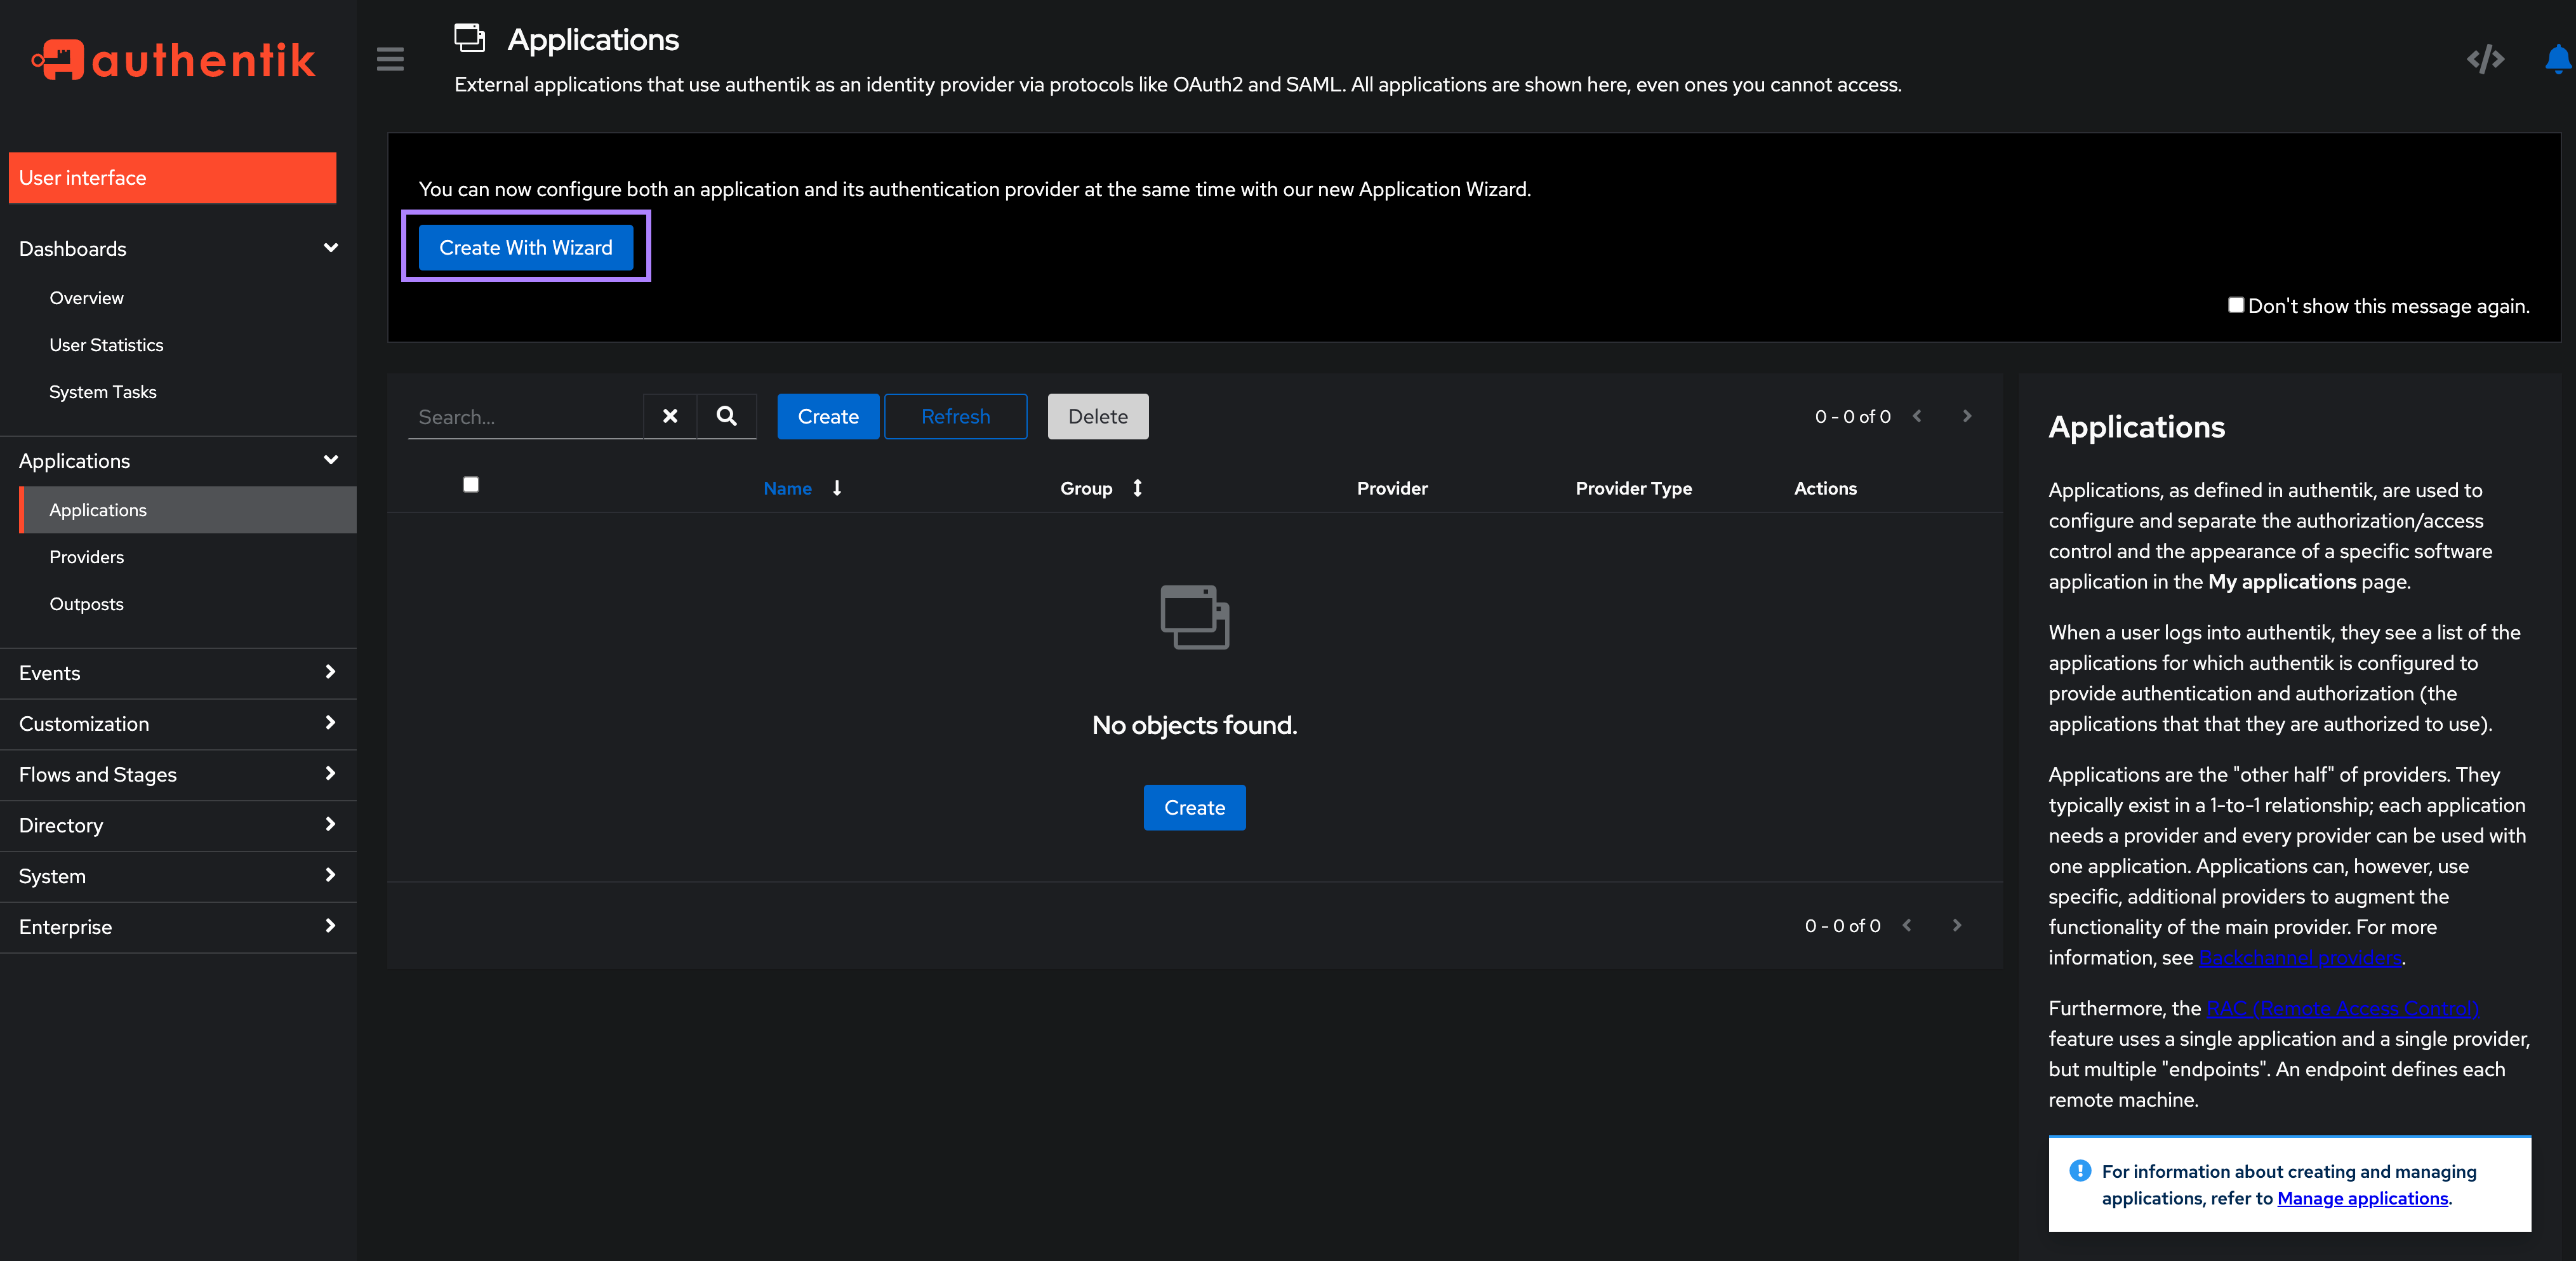
On the left-hand side, select Applications → Applications. For simplicity, we’ll use the Create with Wizard button, as this will create both an application and a provider.
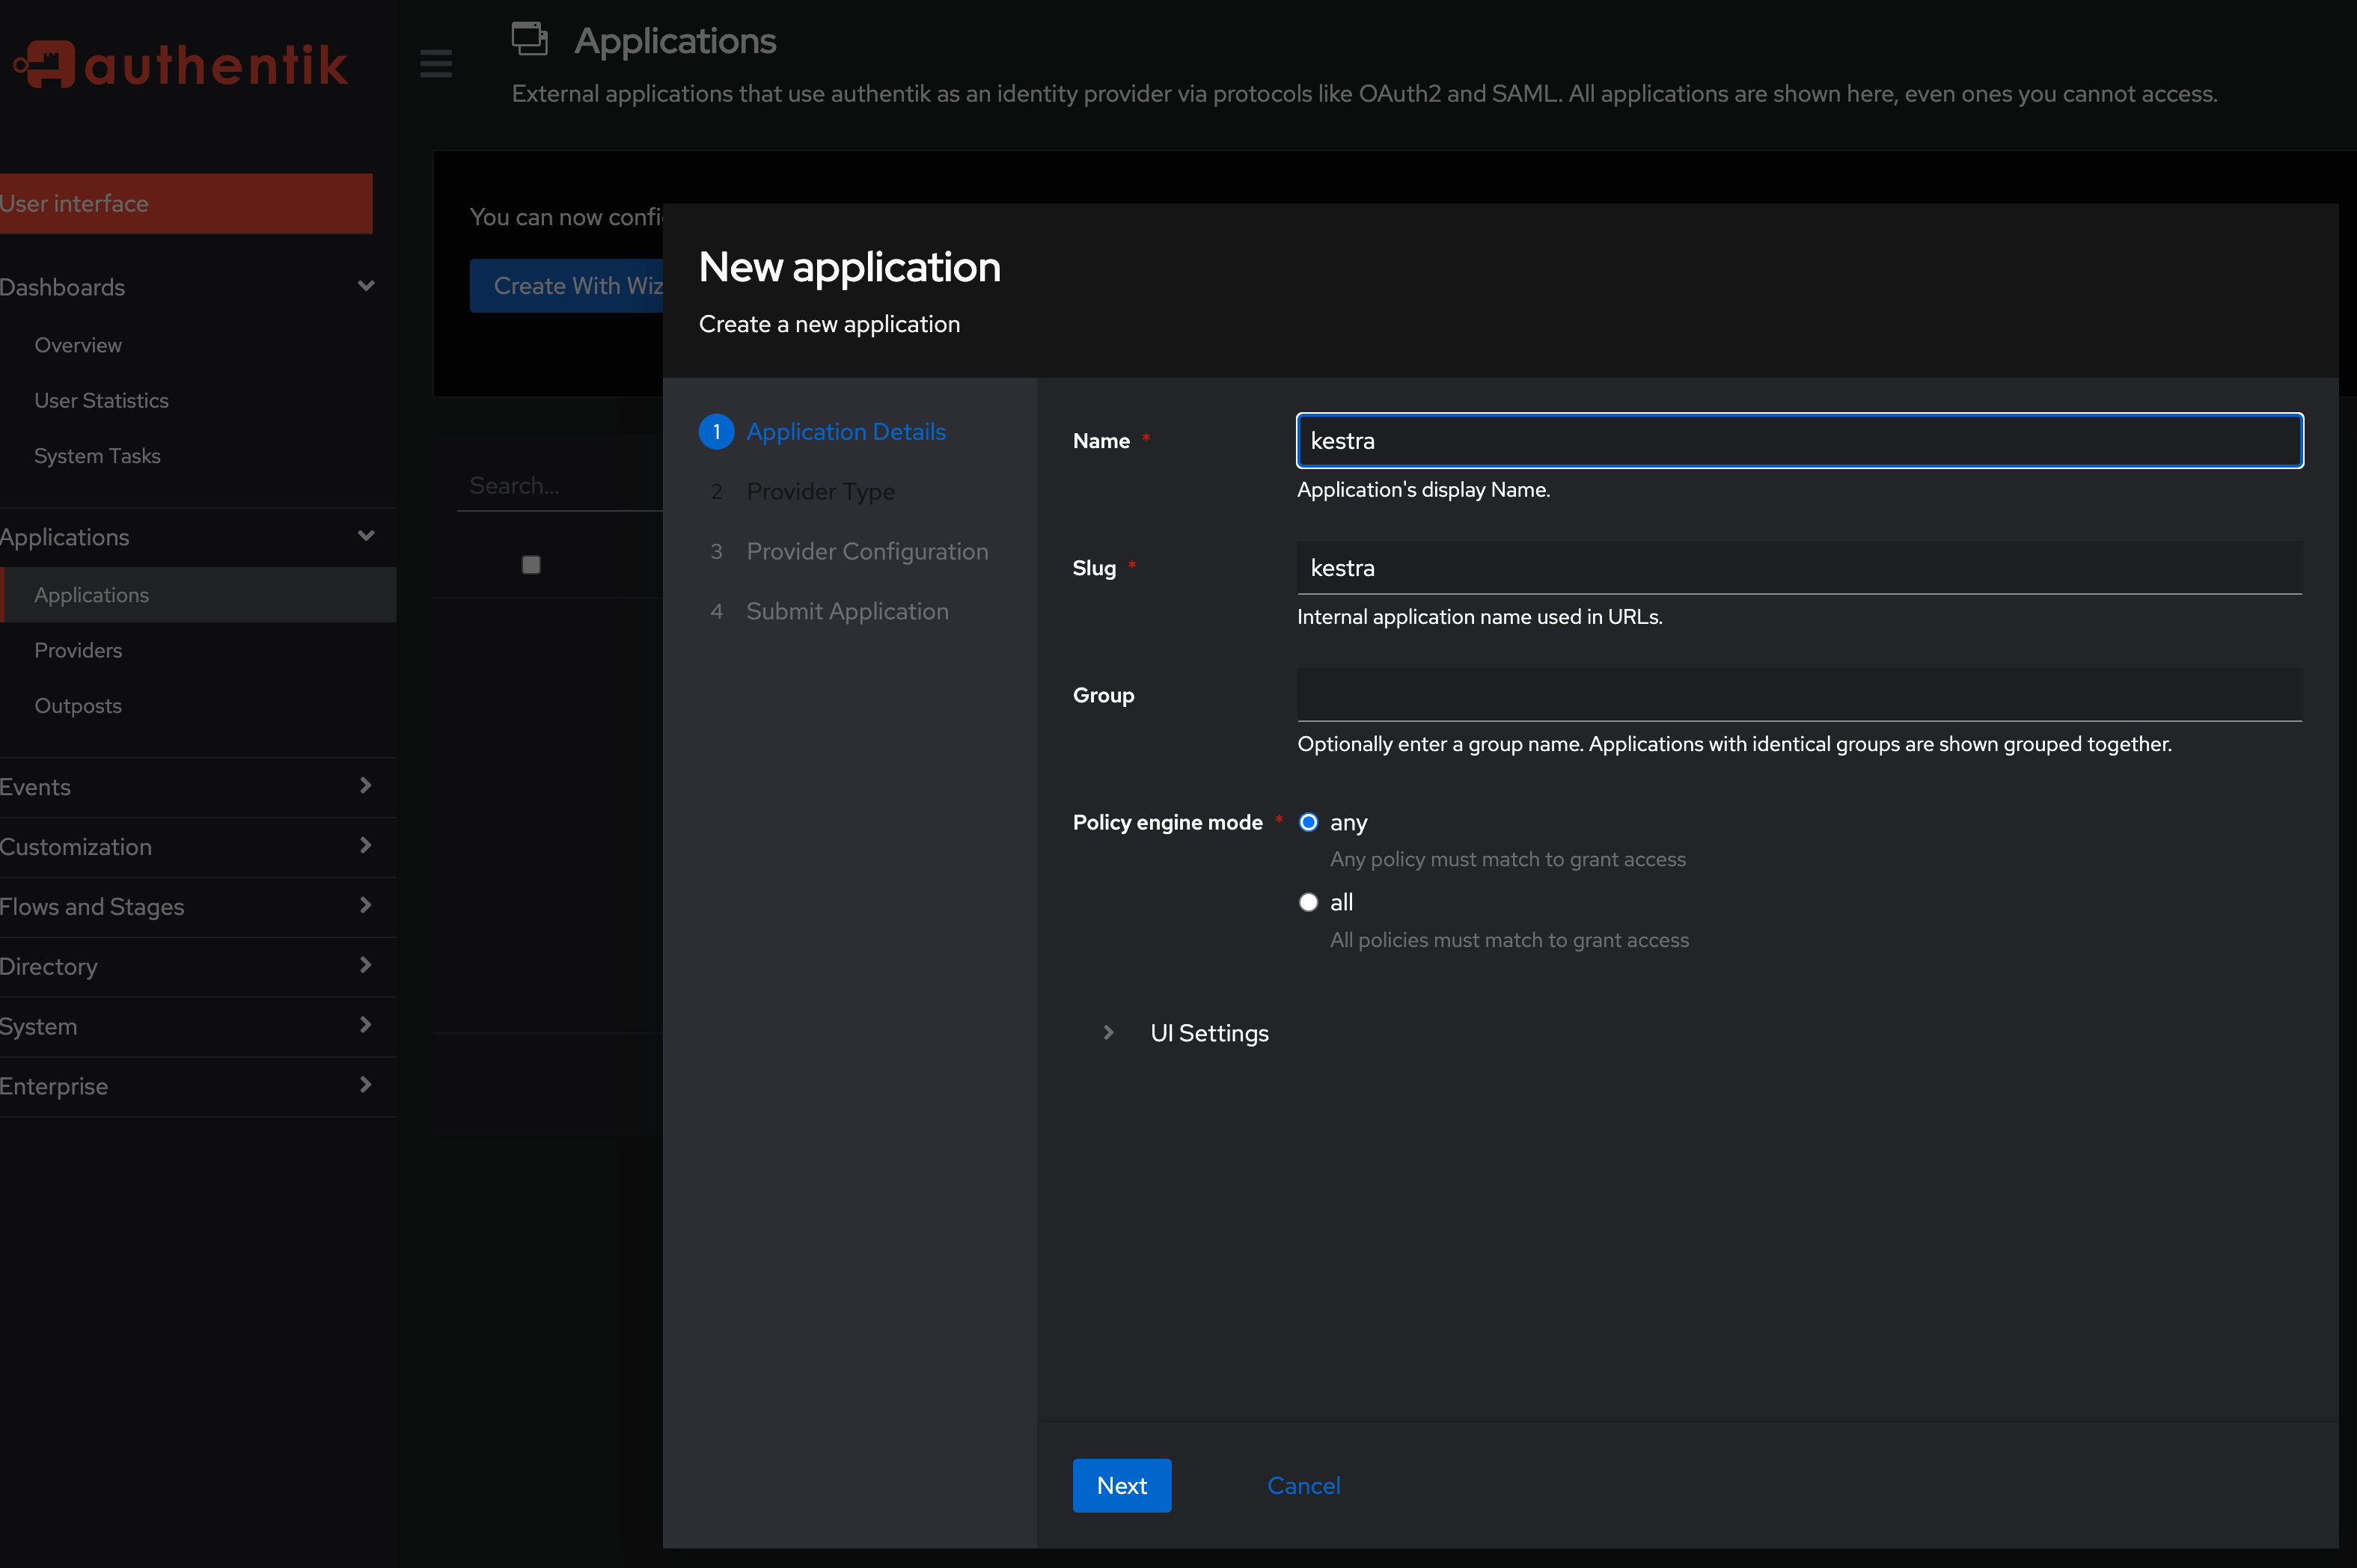
On the Application Details screen, fill in the application Name and Slug. Set both to kestra and click Next.
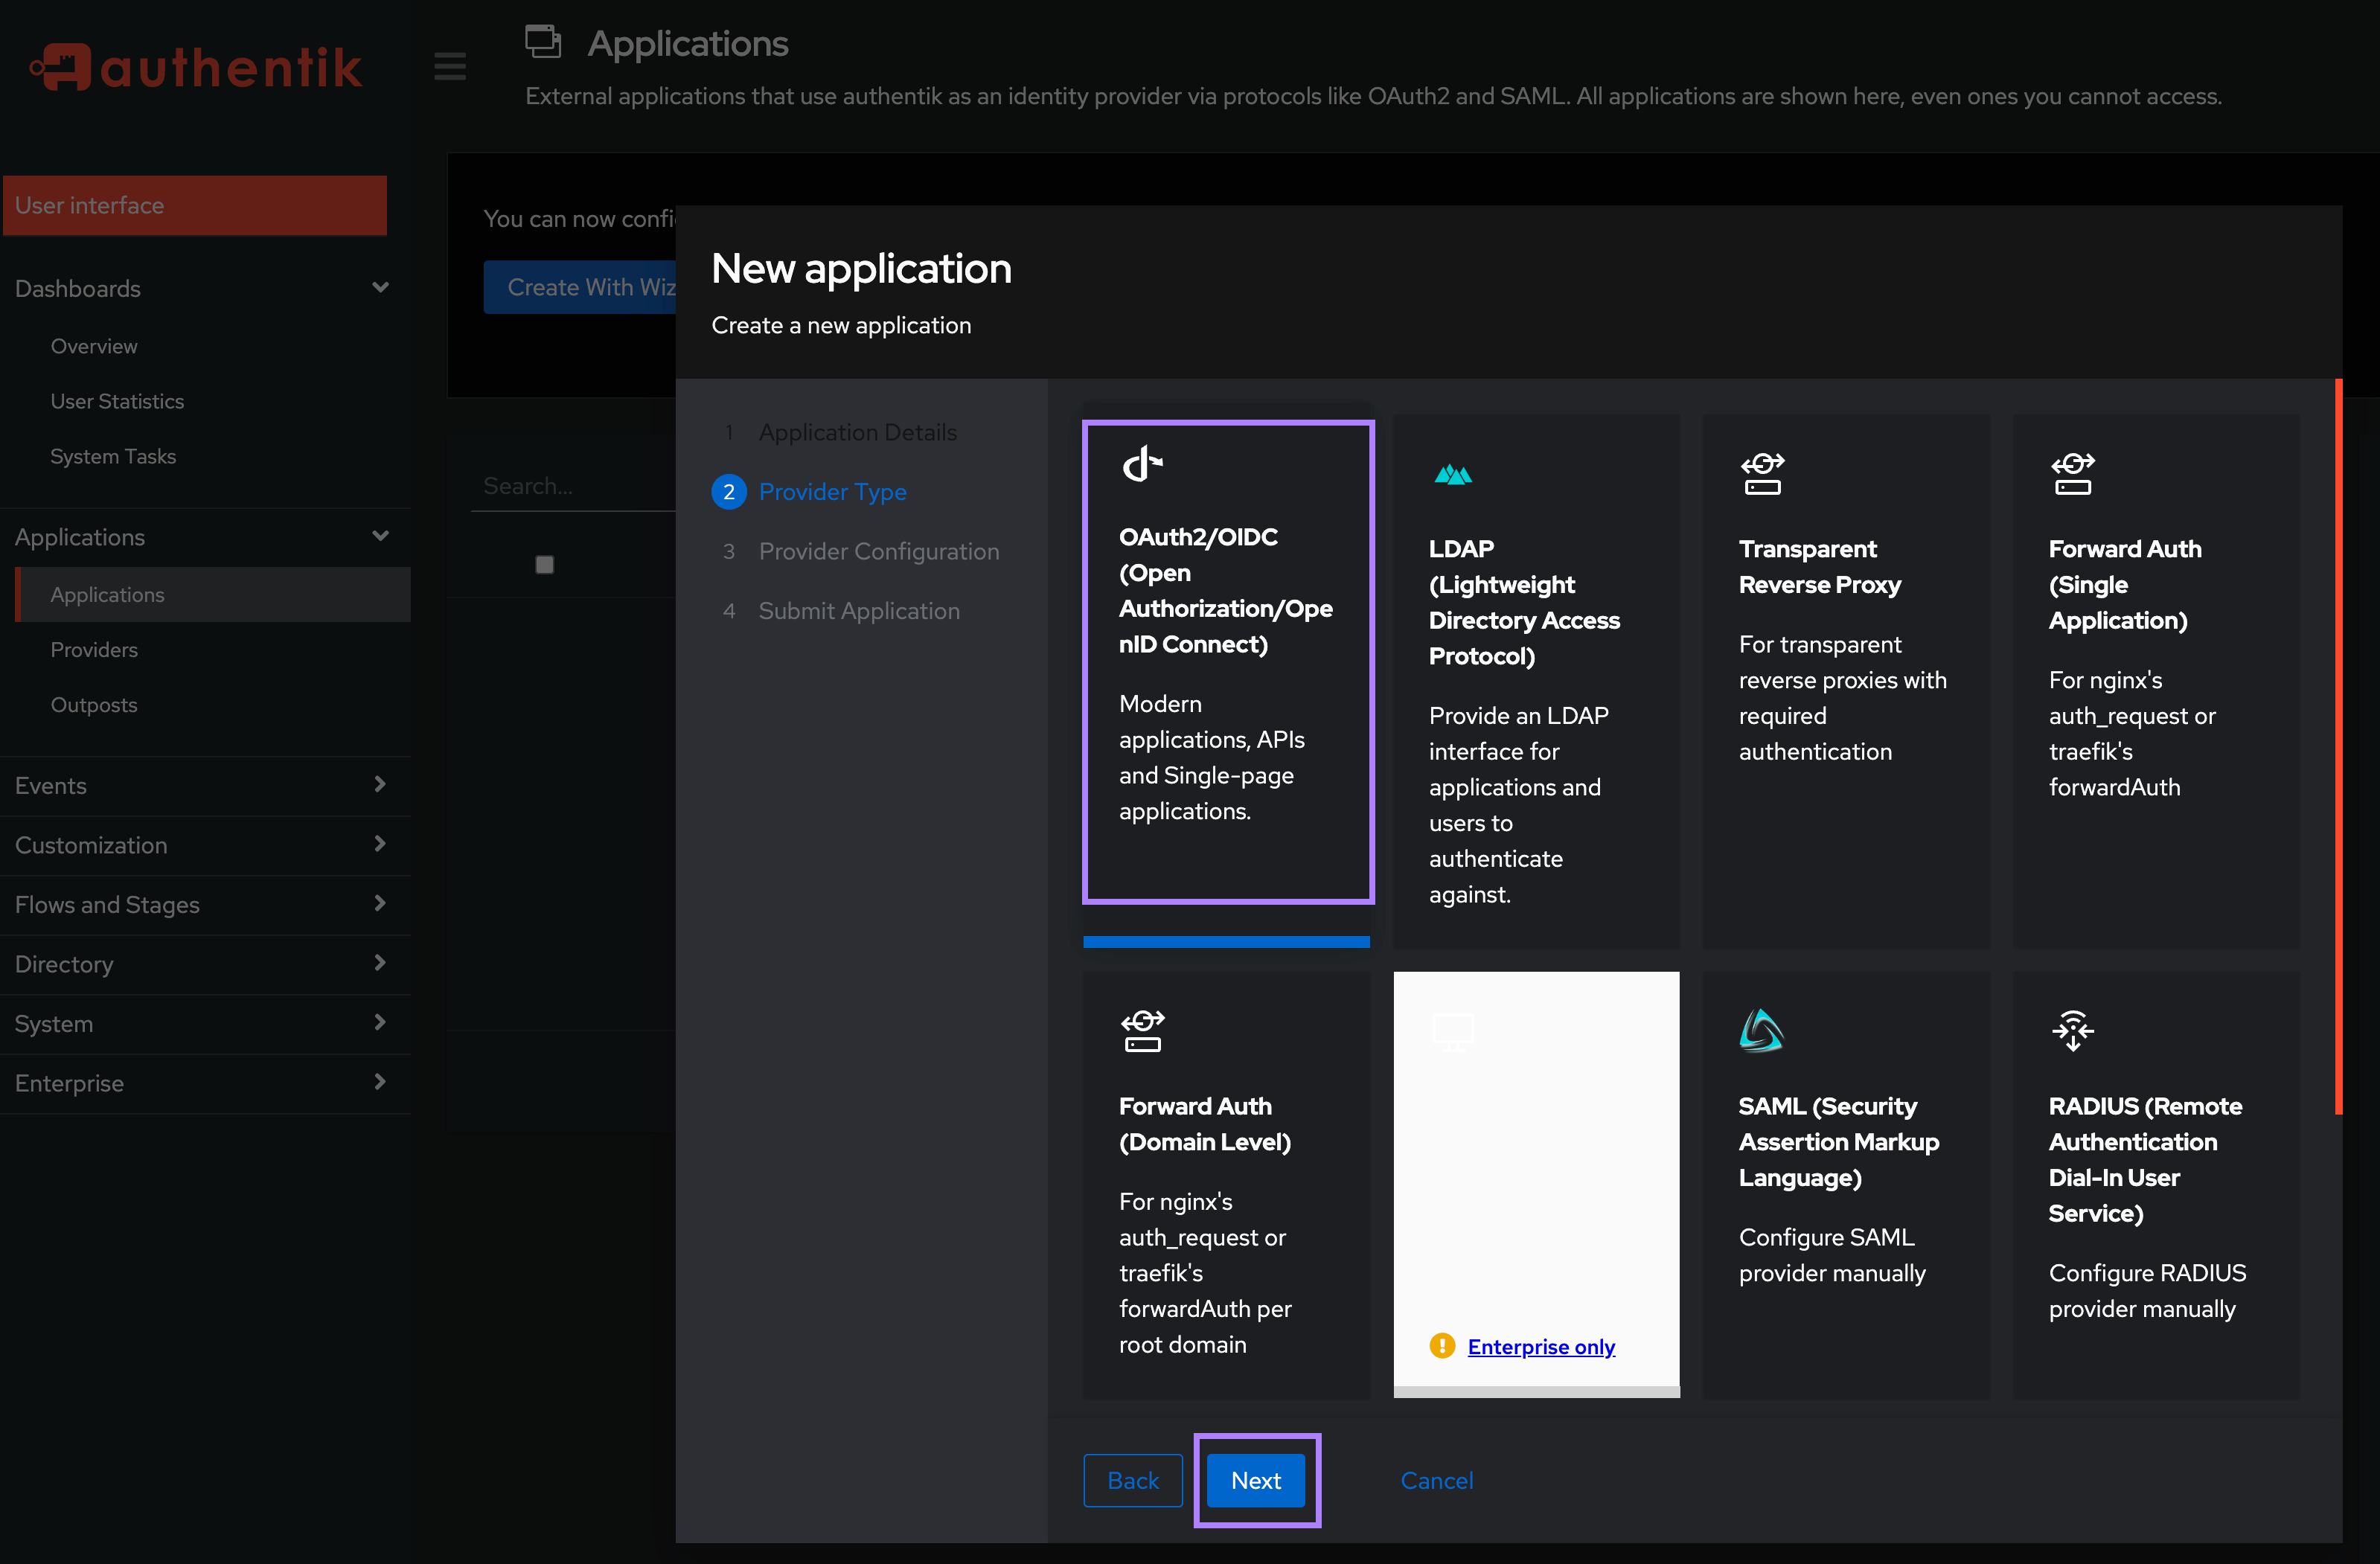
On the Provider Type screen, select OAuth2/OIDC and click Next.
On the Provider Configuration screen:
- In the Authentication flow field, select “default-authentication-flow (Welcome to authentik!)”.
- In the Authorization flow field, select “default-provider-authorization-explicit-consent (Authorize Application)”.
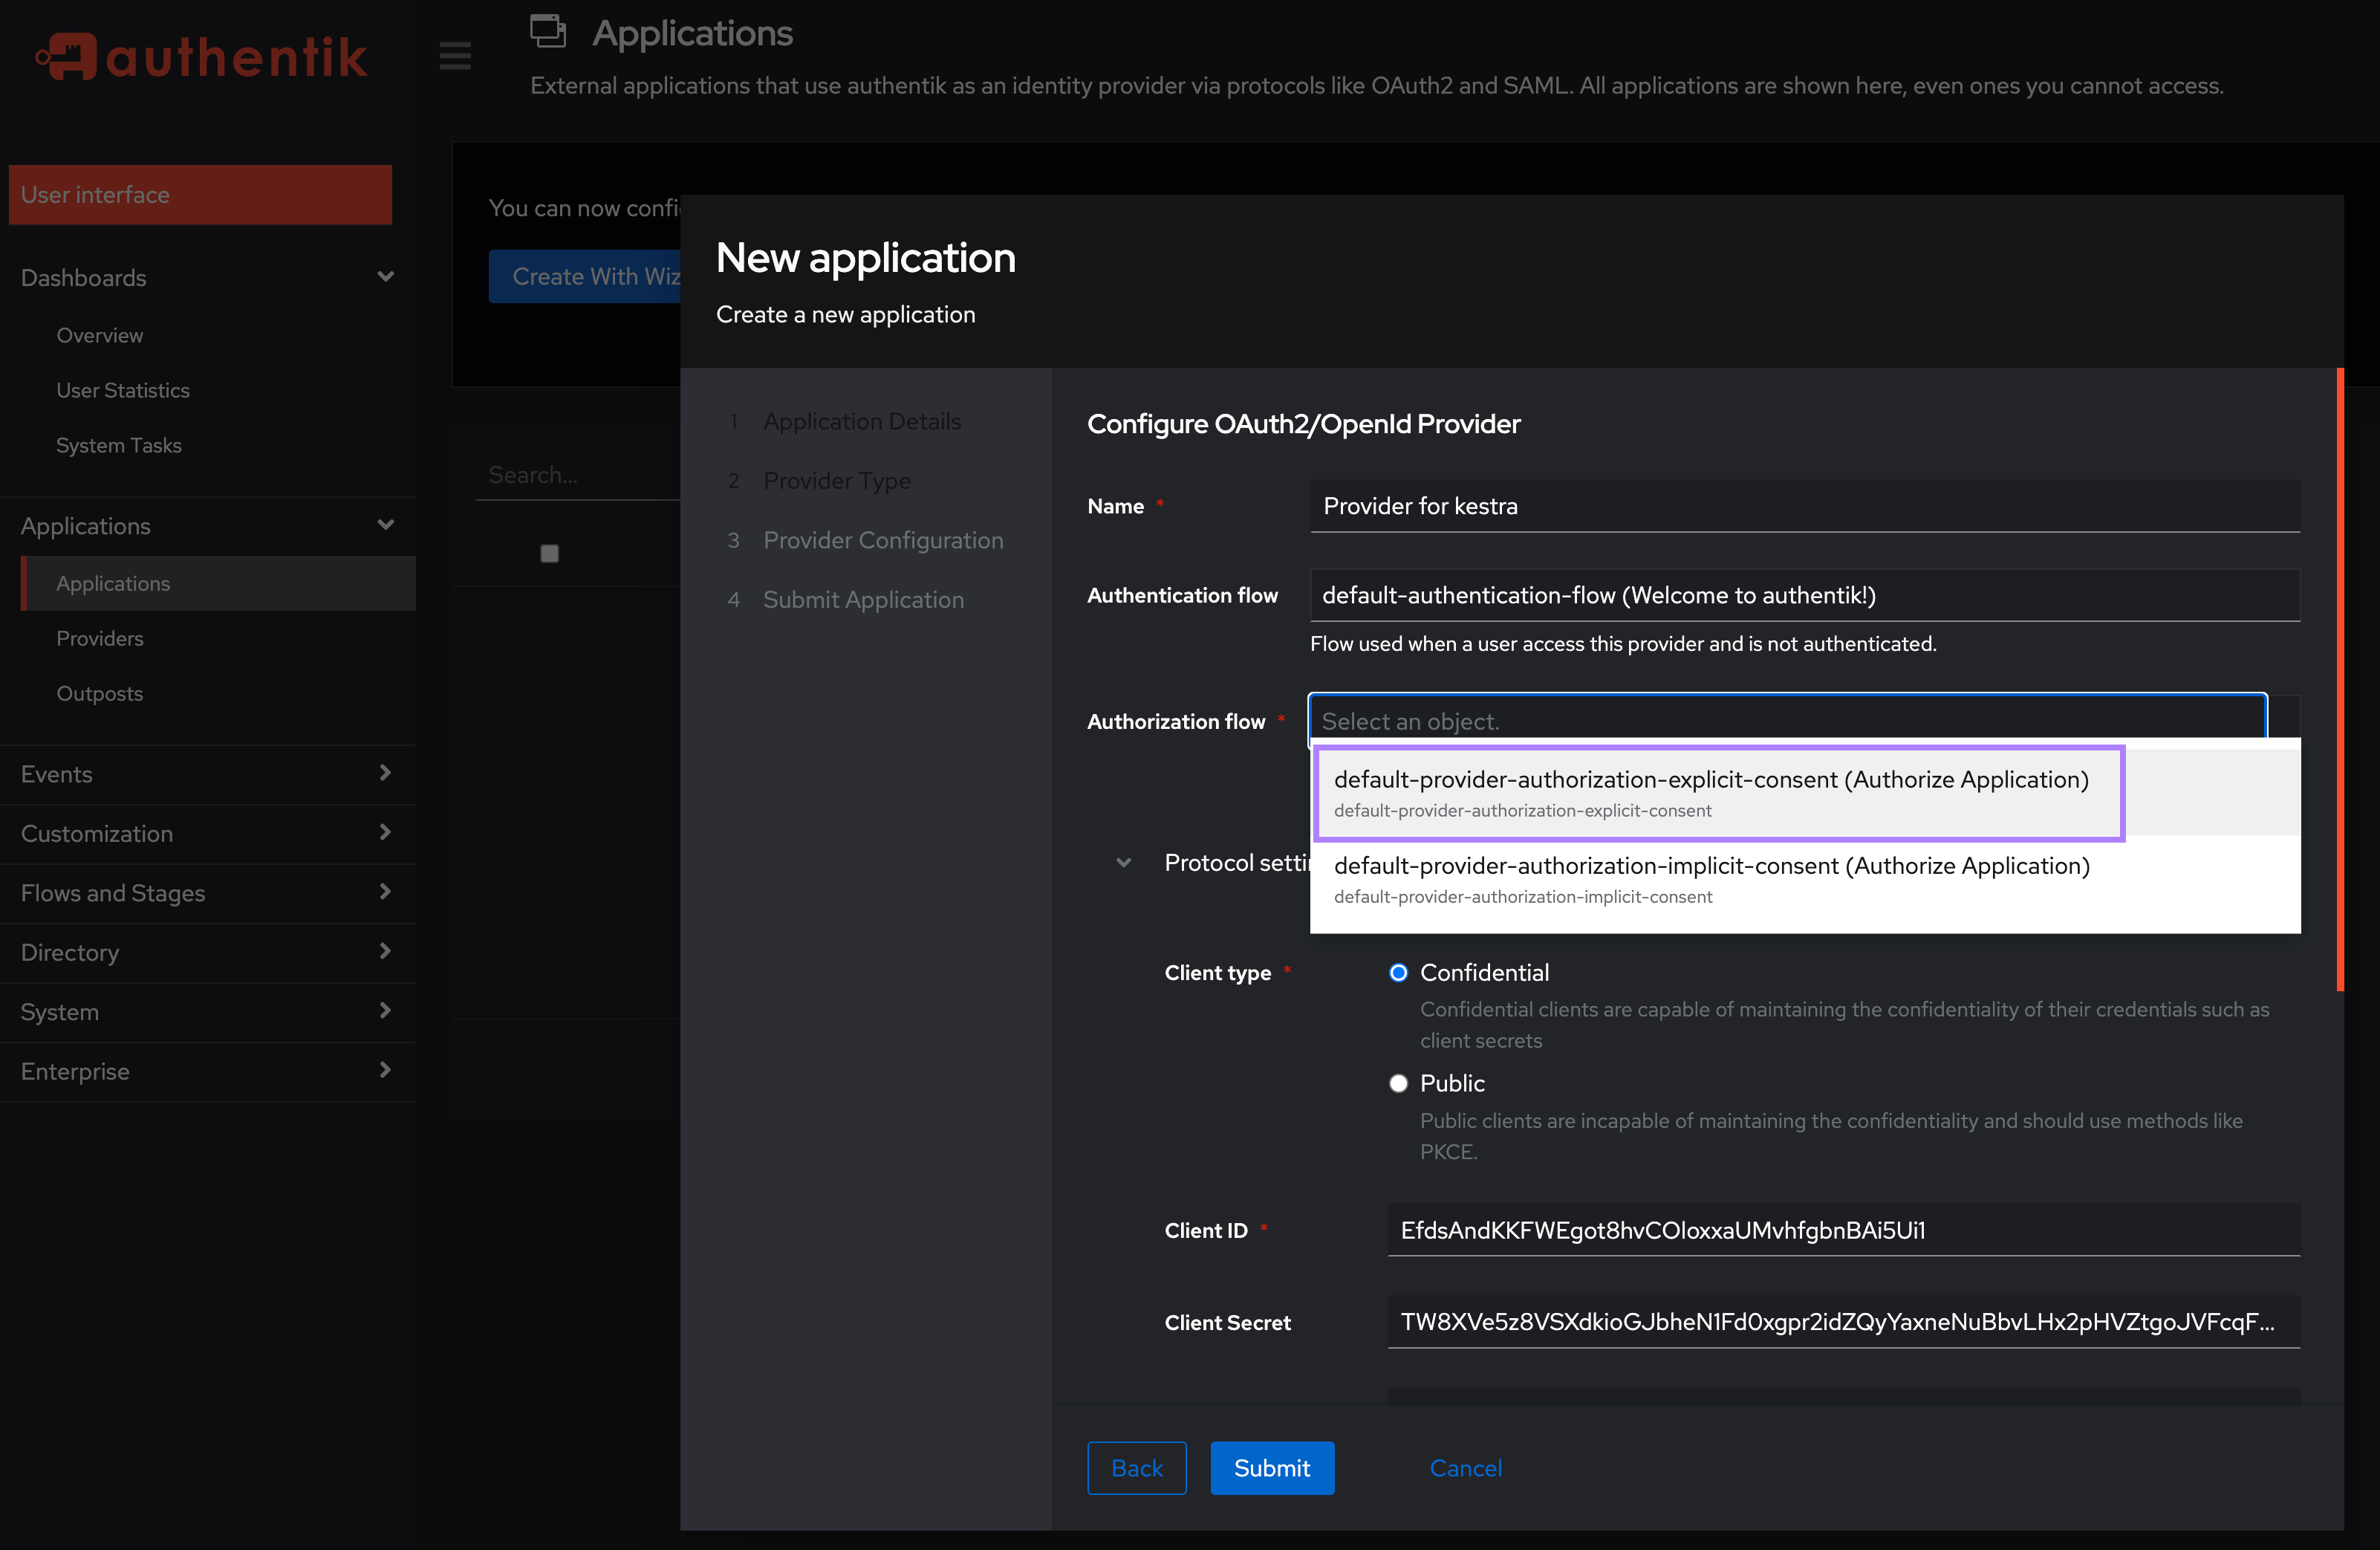
- Keep the Client type as Confidential. Under the Redirect URIs/Origins (RegEx), enter your Kestra host’s
/oauth/callback/authentikendpoint in the formathttp://<kestra_host>:<kestra_port>/oauth/callback/authentik(e.g., http://localhost:8080/oauth/callback/authentik) and click Submit.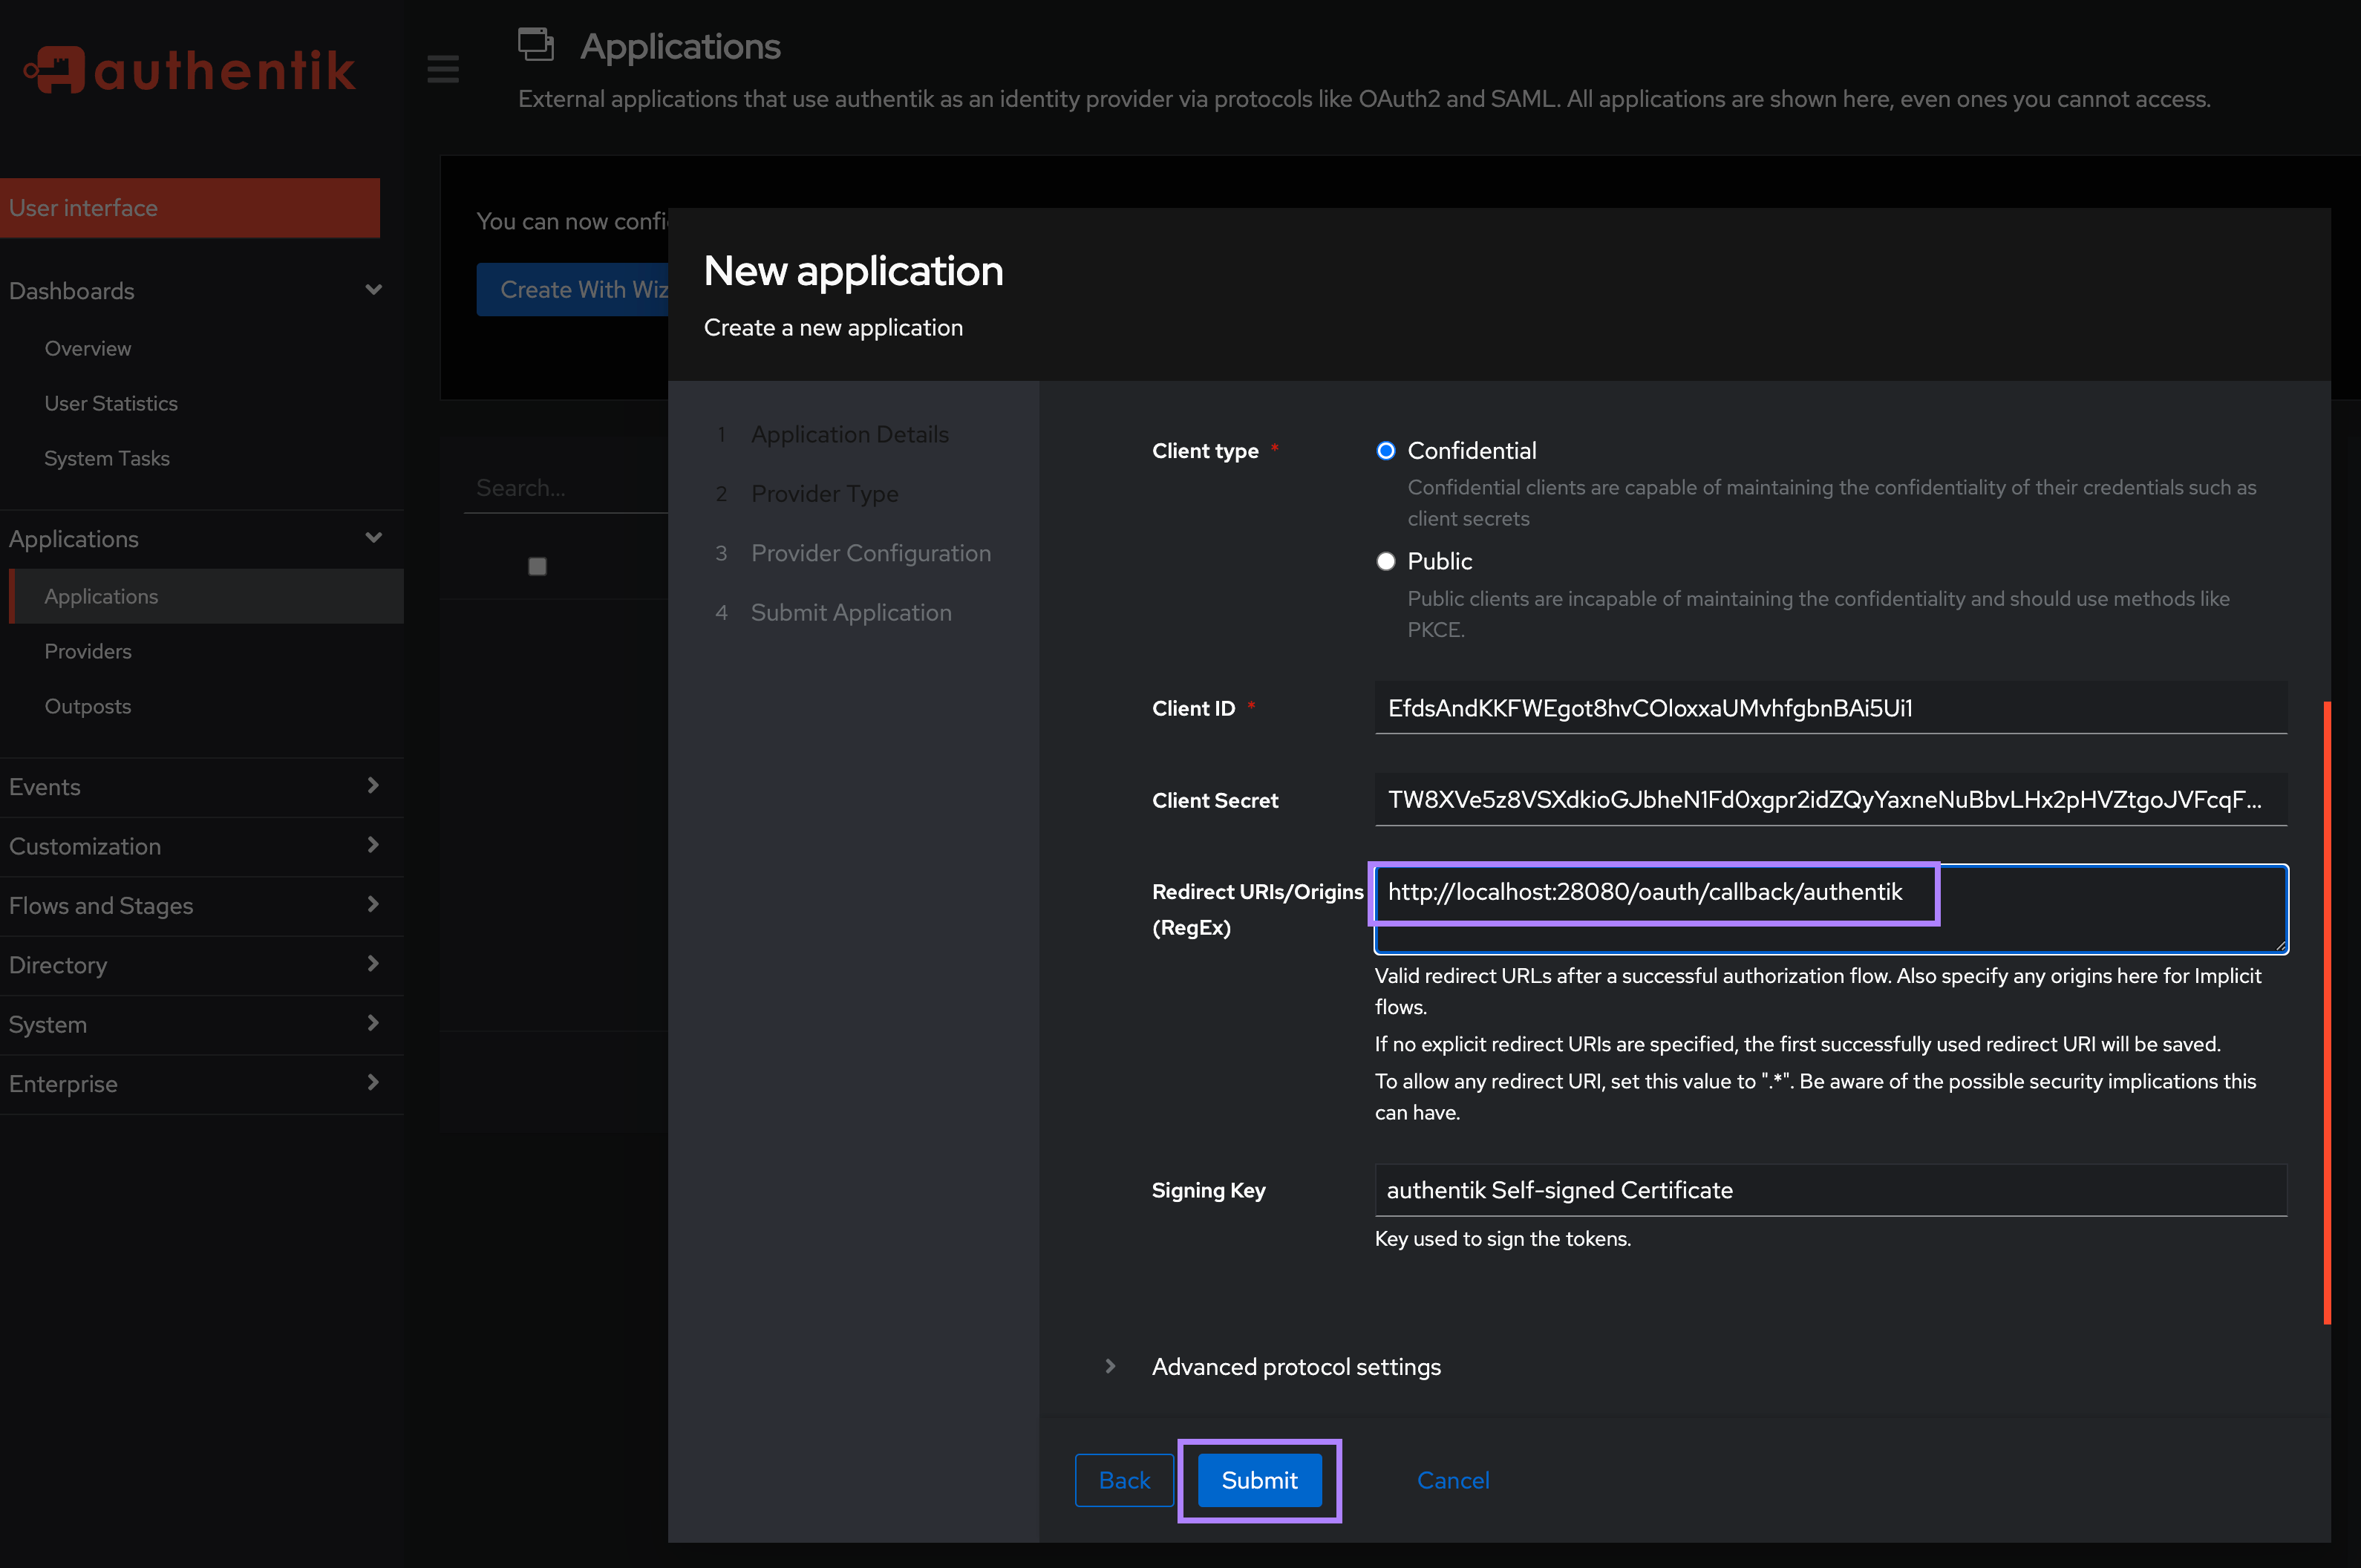
Note the Client ID and Client Secret for the next step.
Configure authentik SSO in Kestra
Add the following to your micronaut configuration:
micronaut: security: oauth2: enabled: true clients: authentik: clientId: "CLIENT_ID" clientSecret: "CLIENT_SECRET" openid: issuer: "http://localhost:9000/application/o/kestra/"You may need to adjust the above issuer URL if you named your application something other than kestra. Update that URL to match your application name: http://localhost:9000/application/o/<application_name>/.
Configure a default role for SSO users
SSO users need a default role for initial access in Kestra. Add the following to kestra.security:
kestra: security: defaultRole: name: default_admin_role description: "Default Admin Role" permissions: FLOW: - VIEW - LIST - CREATE - UPDATE - DELETE - EXECUTE - DISABLE - ENABLE - VALIDATE - EXPORT - IMPORT EXECUTION: - VIEW - LIST - UPDATE - DELETE - RESTART - KILL - REPLAY - PAUSE - RESUME - CHANGE_LABELS - ACCESS_LOGS - ACCESS_OUTPUTS - ACCESS_FILES - EXPORT - UNQUEUE - FORCE_RUN - FOLLOW NAMESPACE: - VIEW - LIST - CREATE - UPDATE - DELETE - MANAGE_FILES - EXPORT_PLUGIN_DEFAULTS - IMPORT_PLUGIN_DEFAULTS SECRET: ["VIEW", "LIST", "UPDATE", "DELETE"] KVSTORE: ["VIEW", "LIST", "CREATE", "UPDATE", "DELETE"] BLUEPRINT: ["VIEW", "LIST", "CREATE", "UPDATE", "DELETE"] ROLE: ["VIEW", "LIST", "CREATE", "UPDATE", "DELETE"] GROUP: ["VIEW", "LIST", "CREATE", "UPDATE", "DELETE", "MANAGE_MEMBERS"] USER: ["VIEW", "LIST", "CREATE", "UPDATE", "DELETE", "MANAGE_GROUP_MEMBERSHIP"] BINDING: ["VIEW", "LIST", "CREATE", "DELETE"] AUDITLOG: ["VIEW", "LIST", "EXPORT"] ee: tenants: enabled: true defaultTenant: falsePlace defaultRole under kestra.security, not under micronaut.security. The example above grants broad access — adjust the action lists to match the permissions your users actually need in production.
Was this page helpful?